

Dressing Your Dresser
Refurbishing a wooden dresser and painting it with latex paint is a rewarding project!
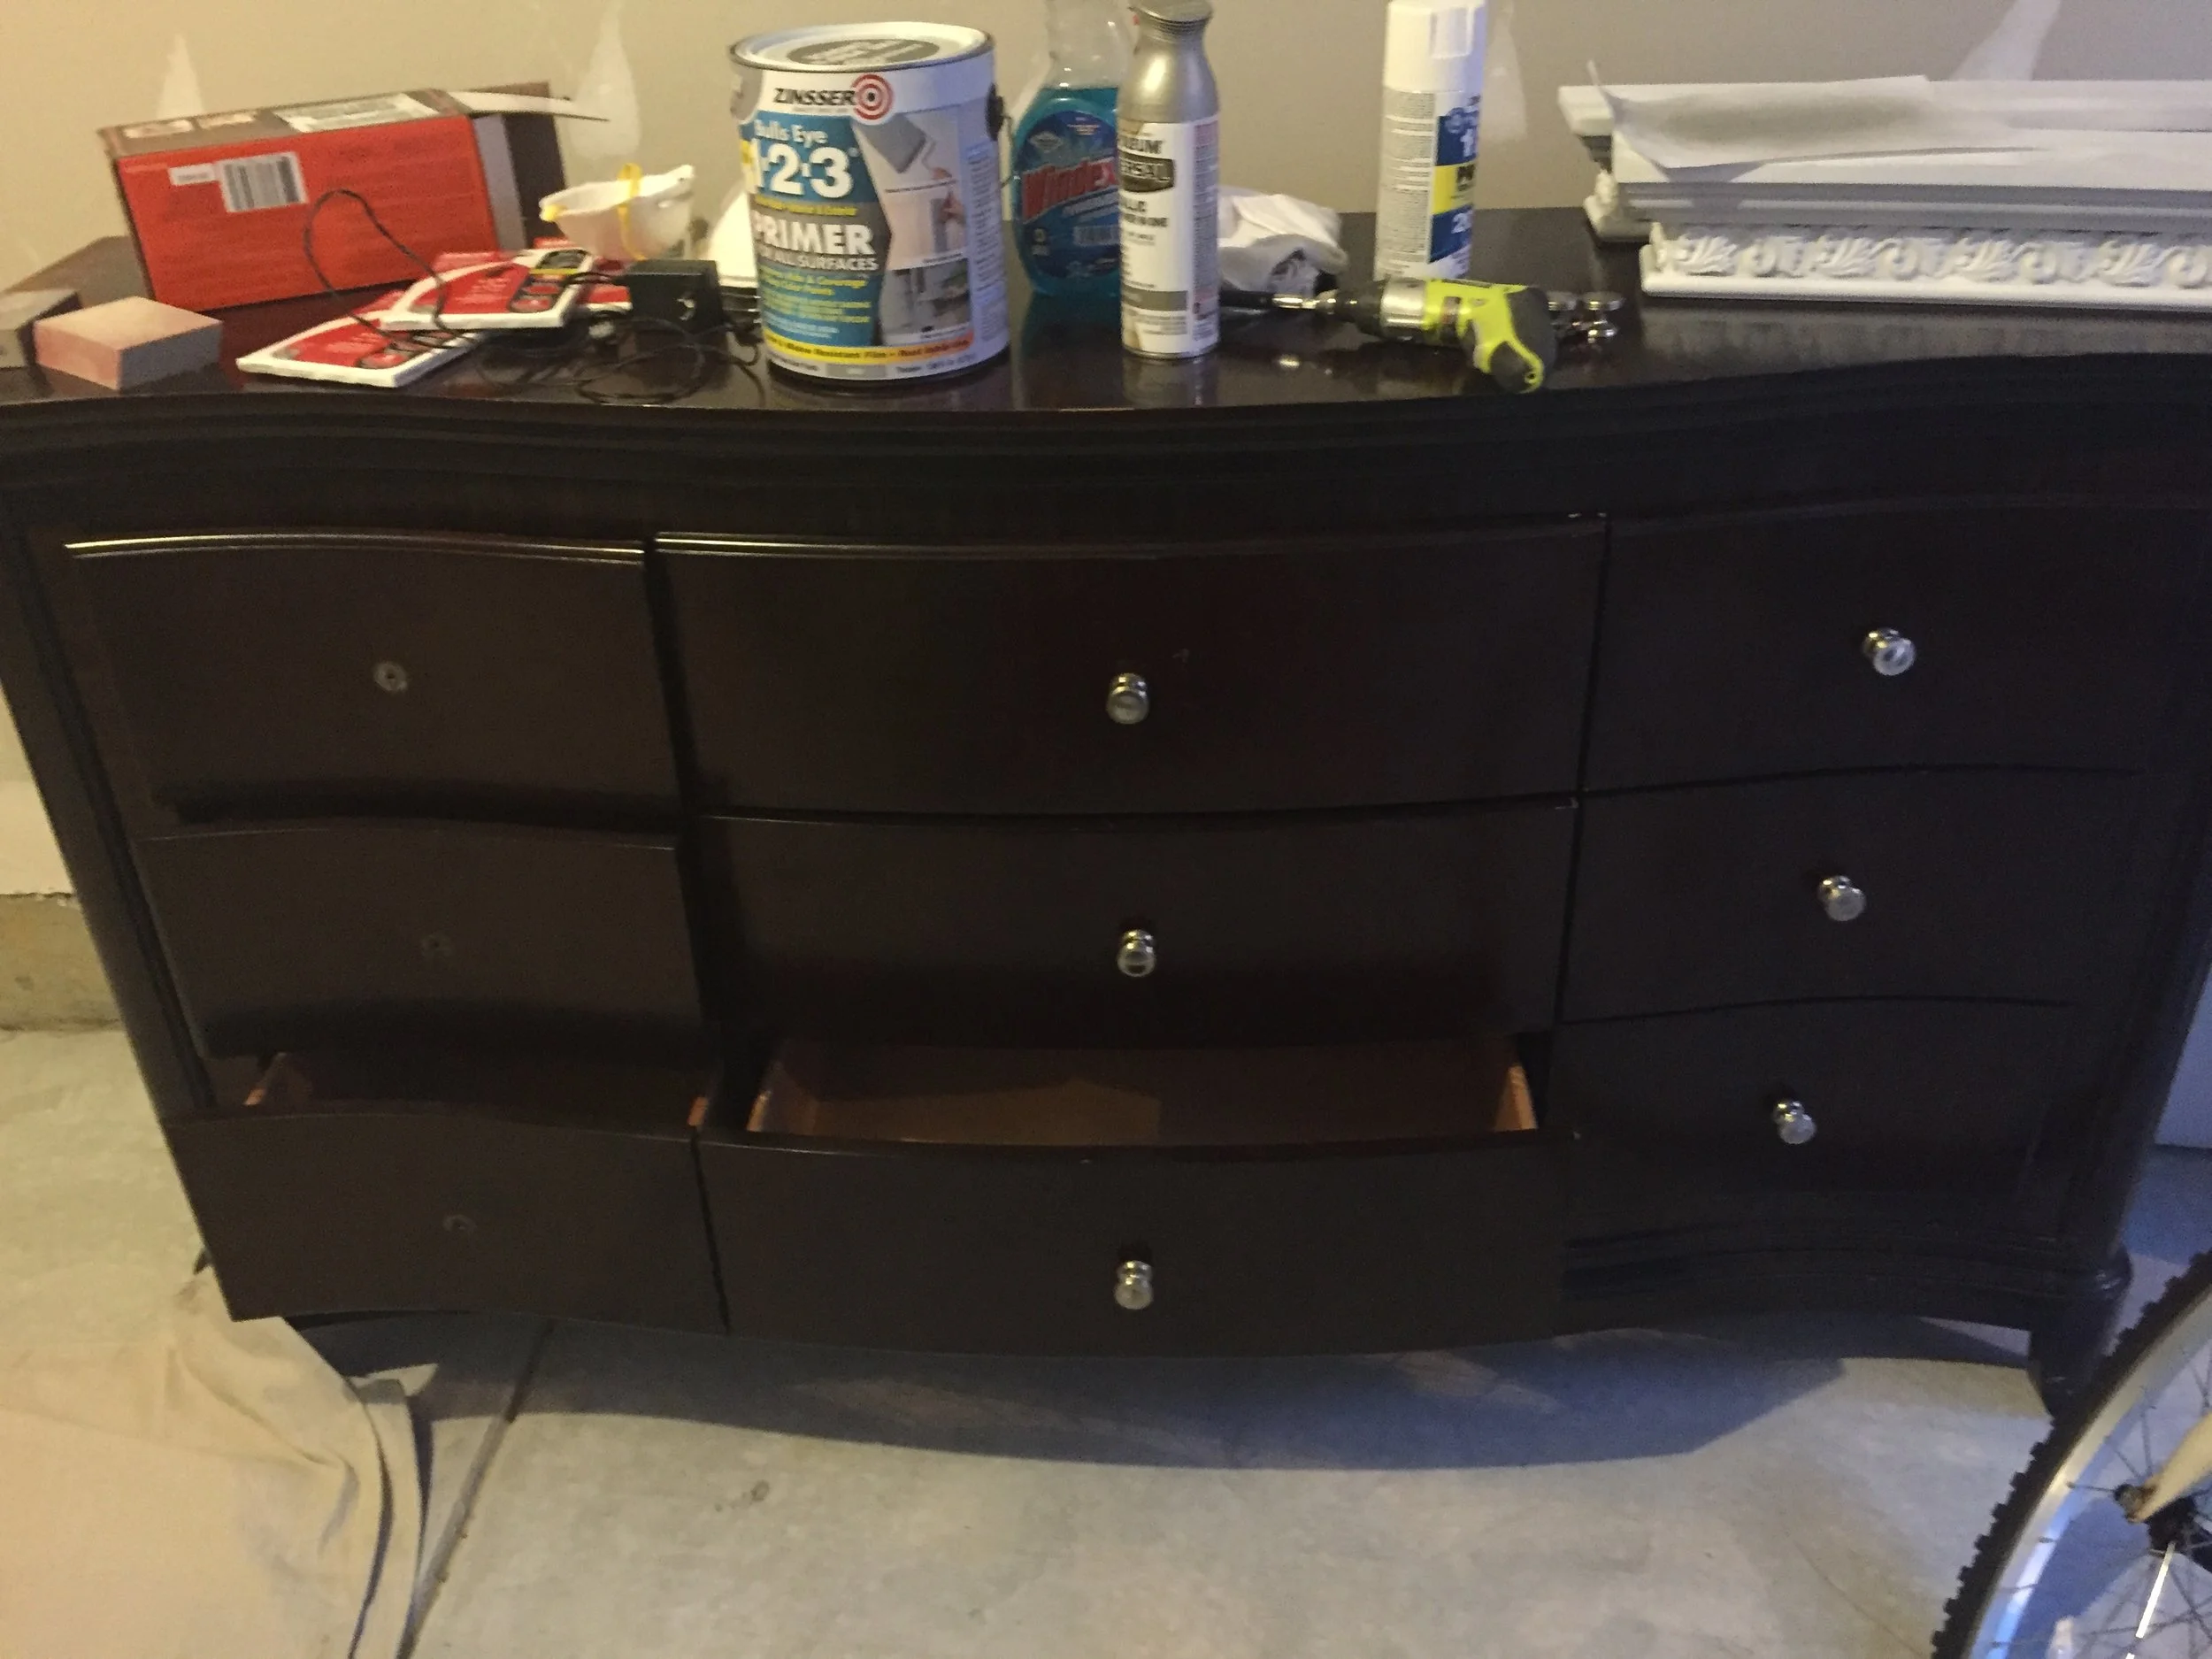
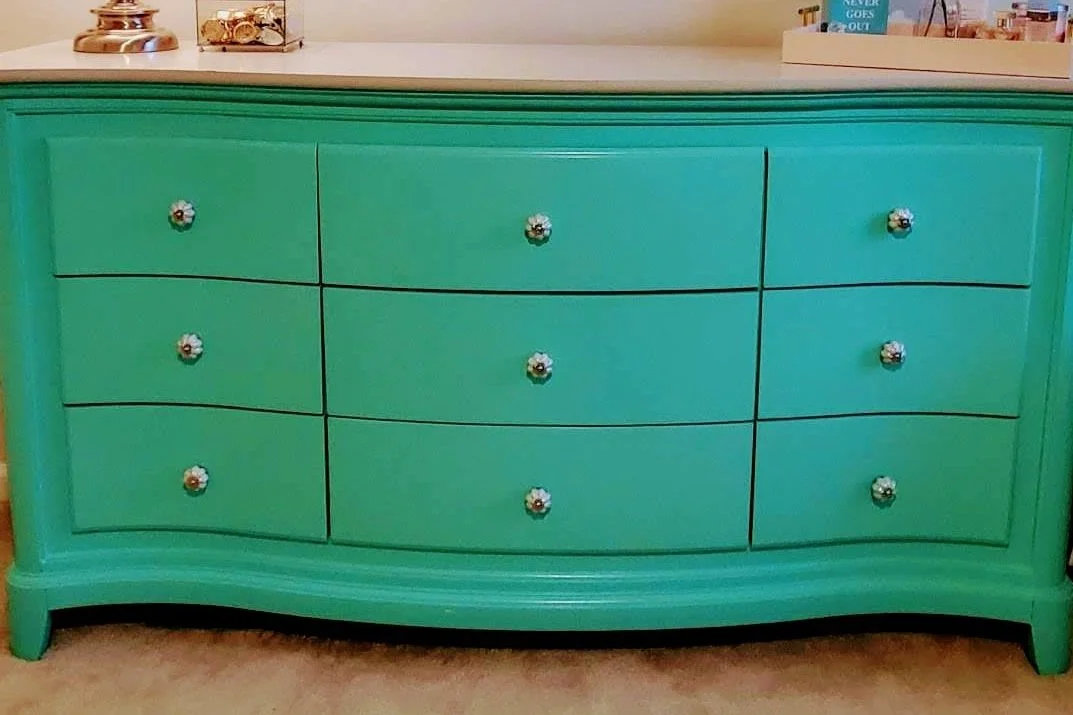
BEFORE
Here’s a step-by-step guide to help you through the process:
Materials Needed:
Sandpaper (various grits: 80, 120, 220)
Primer (optional, but recommended for better adhesion)
Paint does not adhere well to shellac and will flake off.
If furnish that previously had shellac finish, its best to use a sealing primer with the same base (oil- or water-based) as your paint.
Latex paint (in your desired color)
Clear topcoat (optional for durability)
Paintbrushes and/or foam rollers
You can apply primer with a brush or a roller. Primers can take up to 24 hours to dry, so you should read the directions carefully for your set time.
Clean cloths
Wood filler (if needed to fill holes, indentations, etc.)
Screwdriver
Paint tray
Drop cloths or old newspapers
New knobs (optional)
Steps to Refinish and Paint:
Prepare the Workspace:
Choose a well-ventilated area and lay down drop cloths to protect the floor.
Remove Hardware:
Use a screwdriver to take off handles, knobs, and any other hardware. Keep them in a safe place.
Clean the Dresser:
Wipe down the dresser with a damp cloth to remove dust and grime. Let it dry completely.
Inspect and Repair:
Check for any dents or cracks. Use wood filler to fill in these imperfections. Let it dry as per the manufacturer's instructions, then sand smooth.
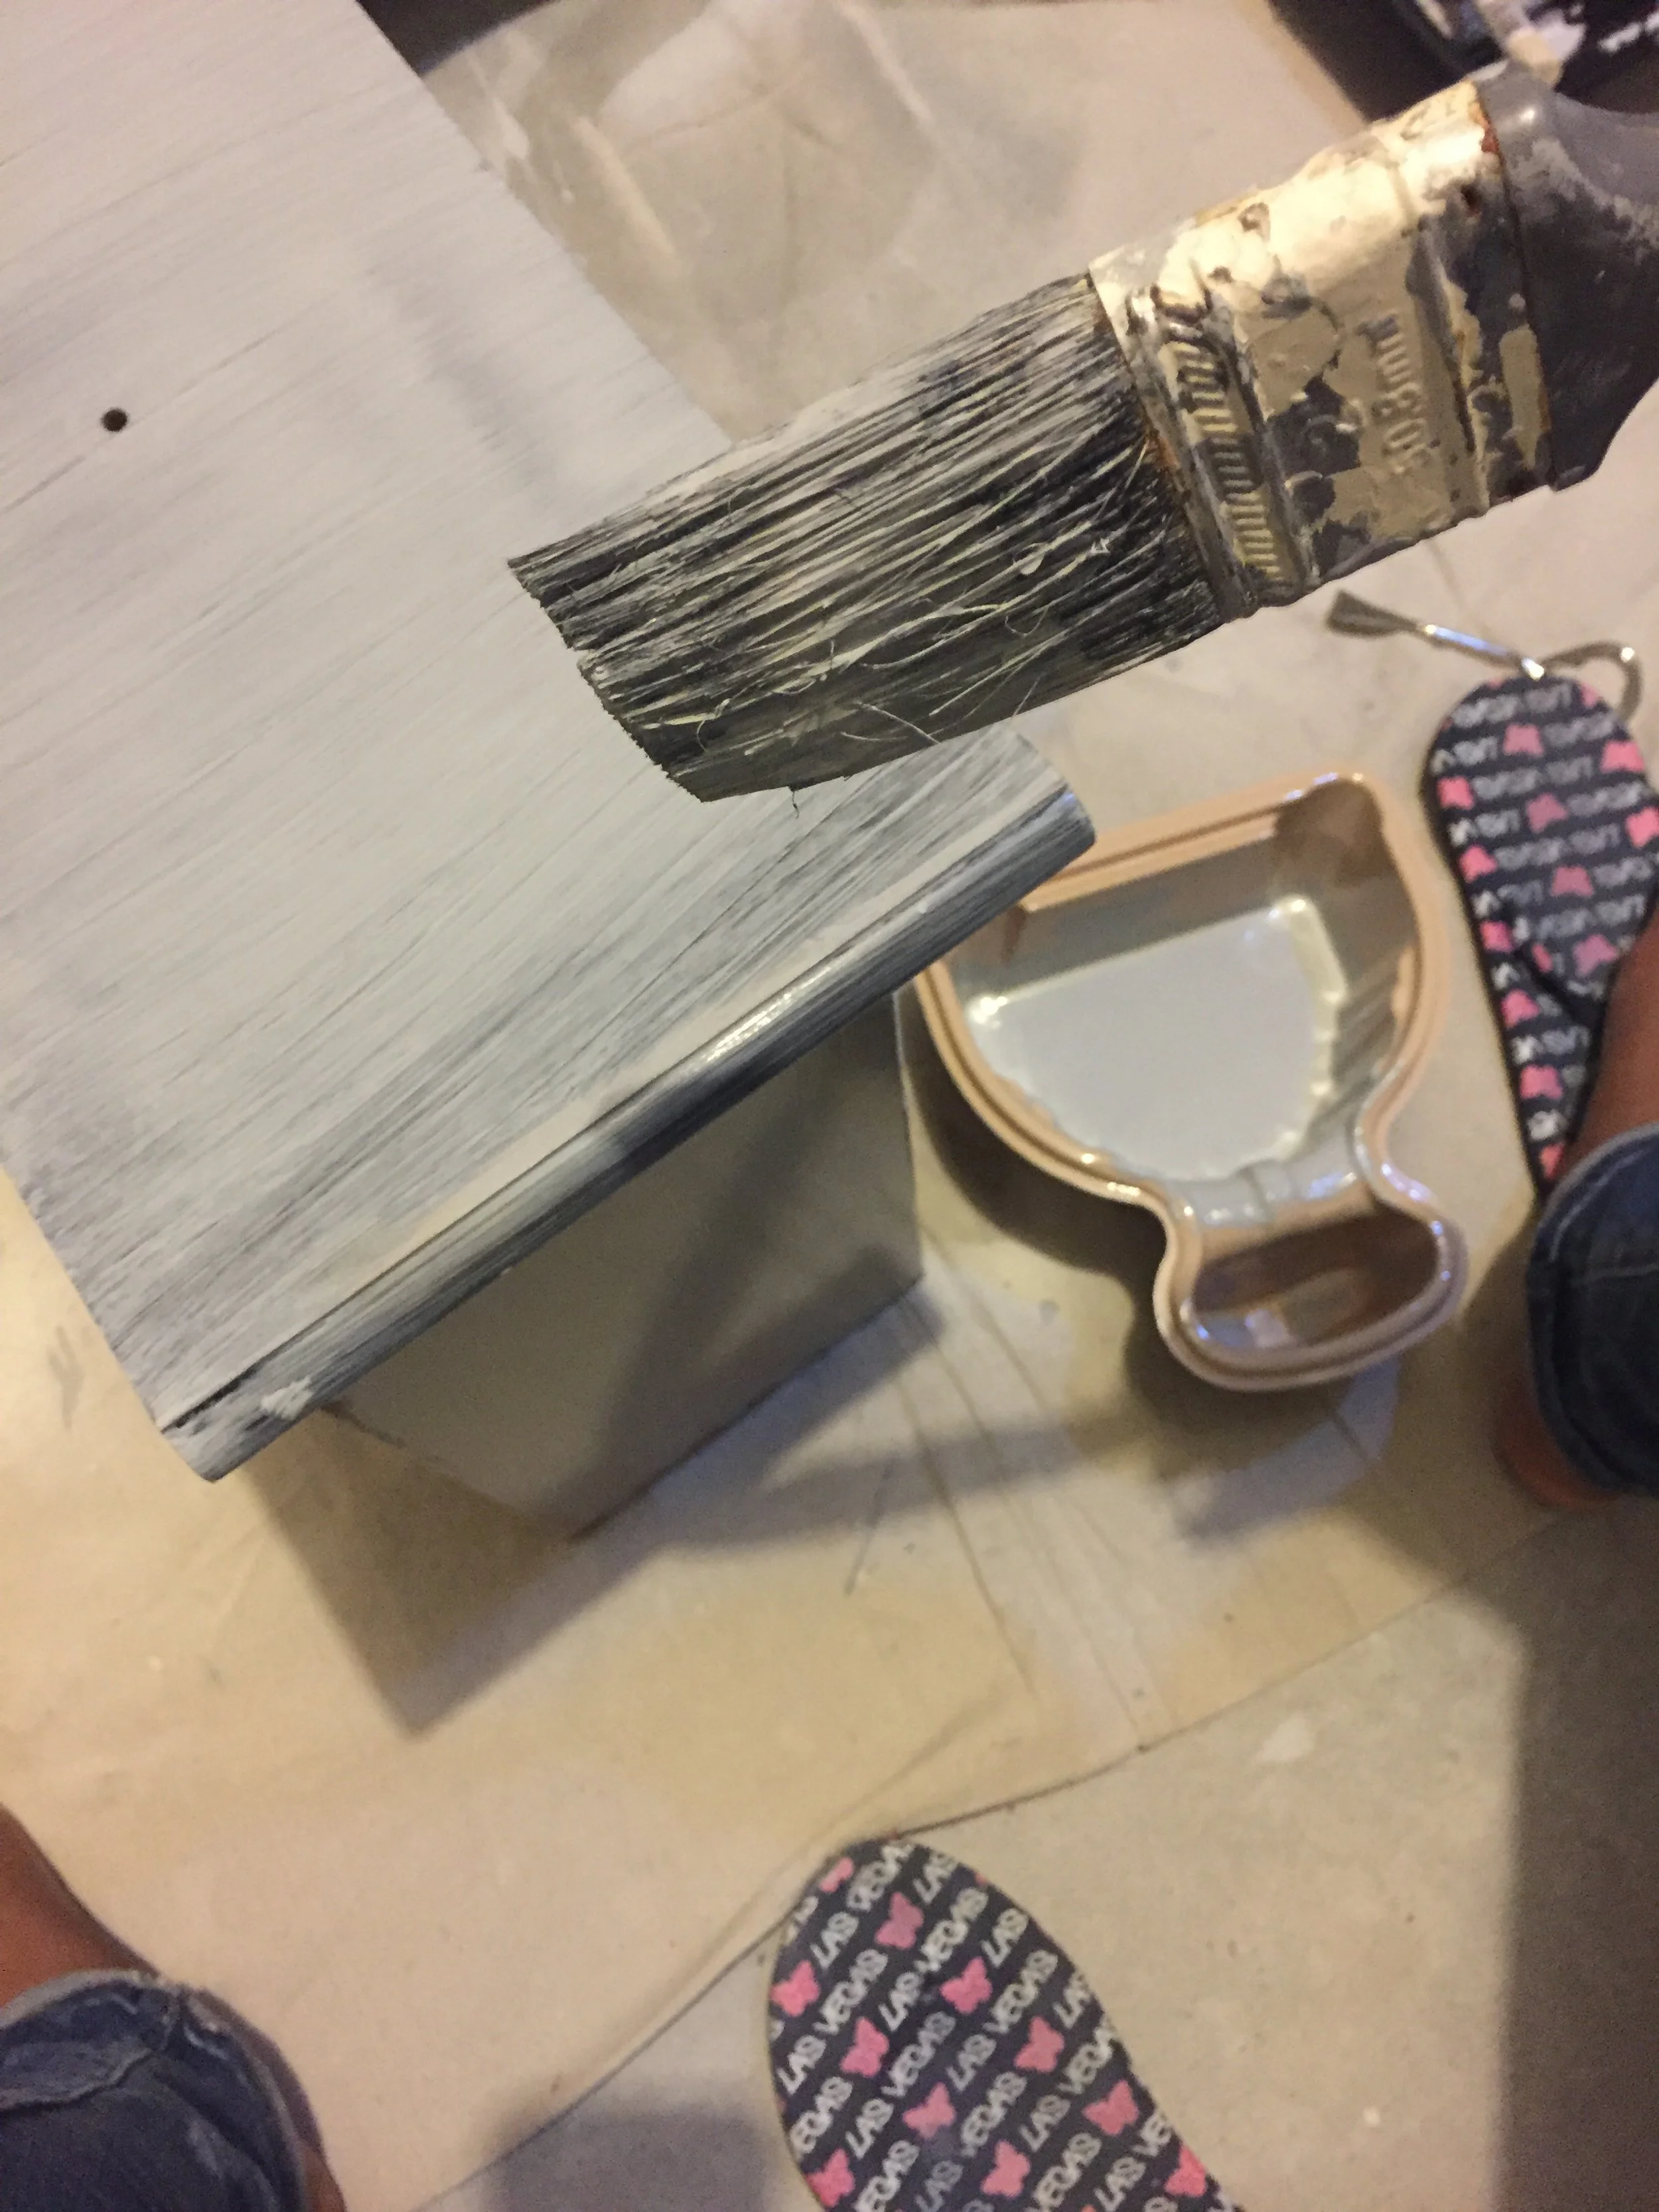
Sand the Surface:
Start with 80-grit sandpaper to remove the old finish. Follow up with 120-grit for a smoother surface. Finally, use 220-grit for a fine finish. Always sand in the direction of the wood grain.
Clean Again:
After sanding, wipe down the dresser with a clean cloth to remove any dust. DO NOT OMIT THIS PART OR DO HALF JOB WIPING.
Primer / Paint will not adhere properly to dust residue
Prime the Dresser (Optional, but recommended):
If you’re using a light color paint or want better adhesion, apply a coat of primer. Allow it to dry as per the instructions.
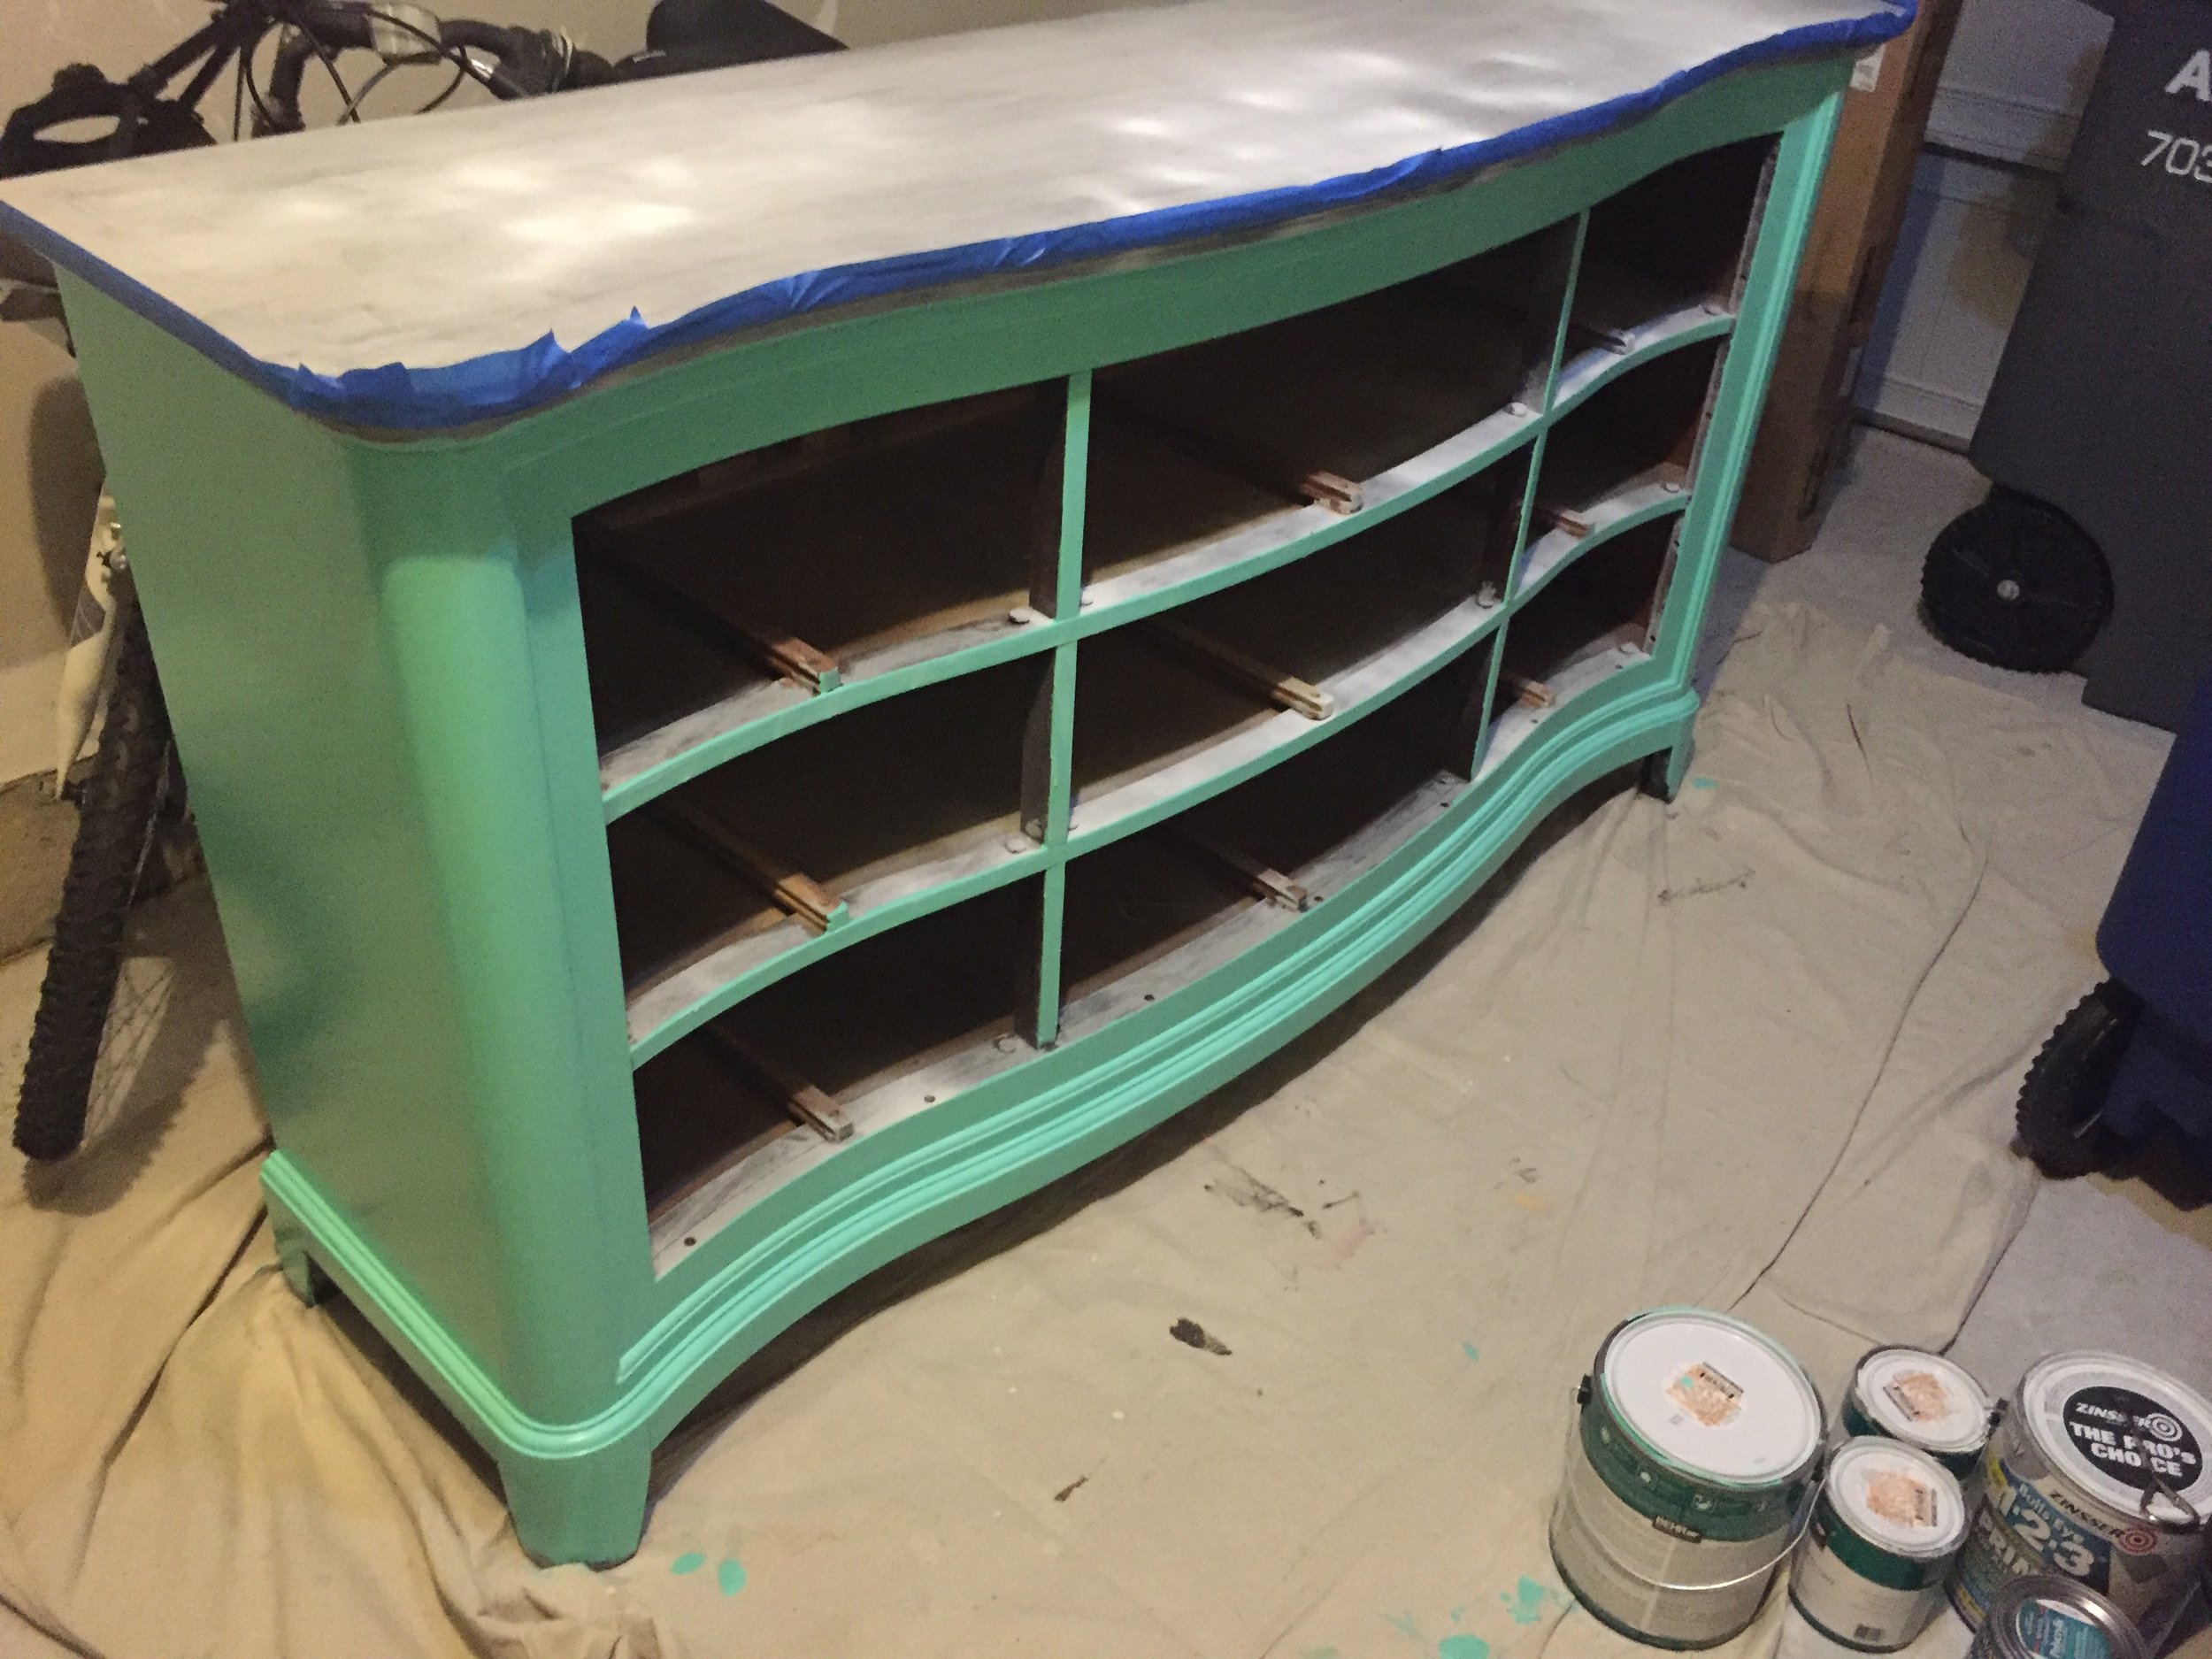
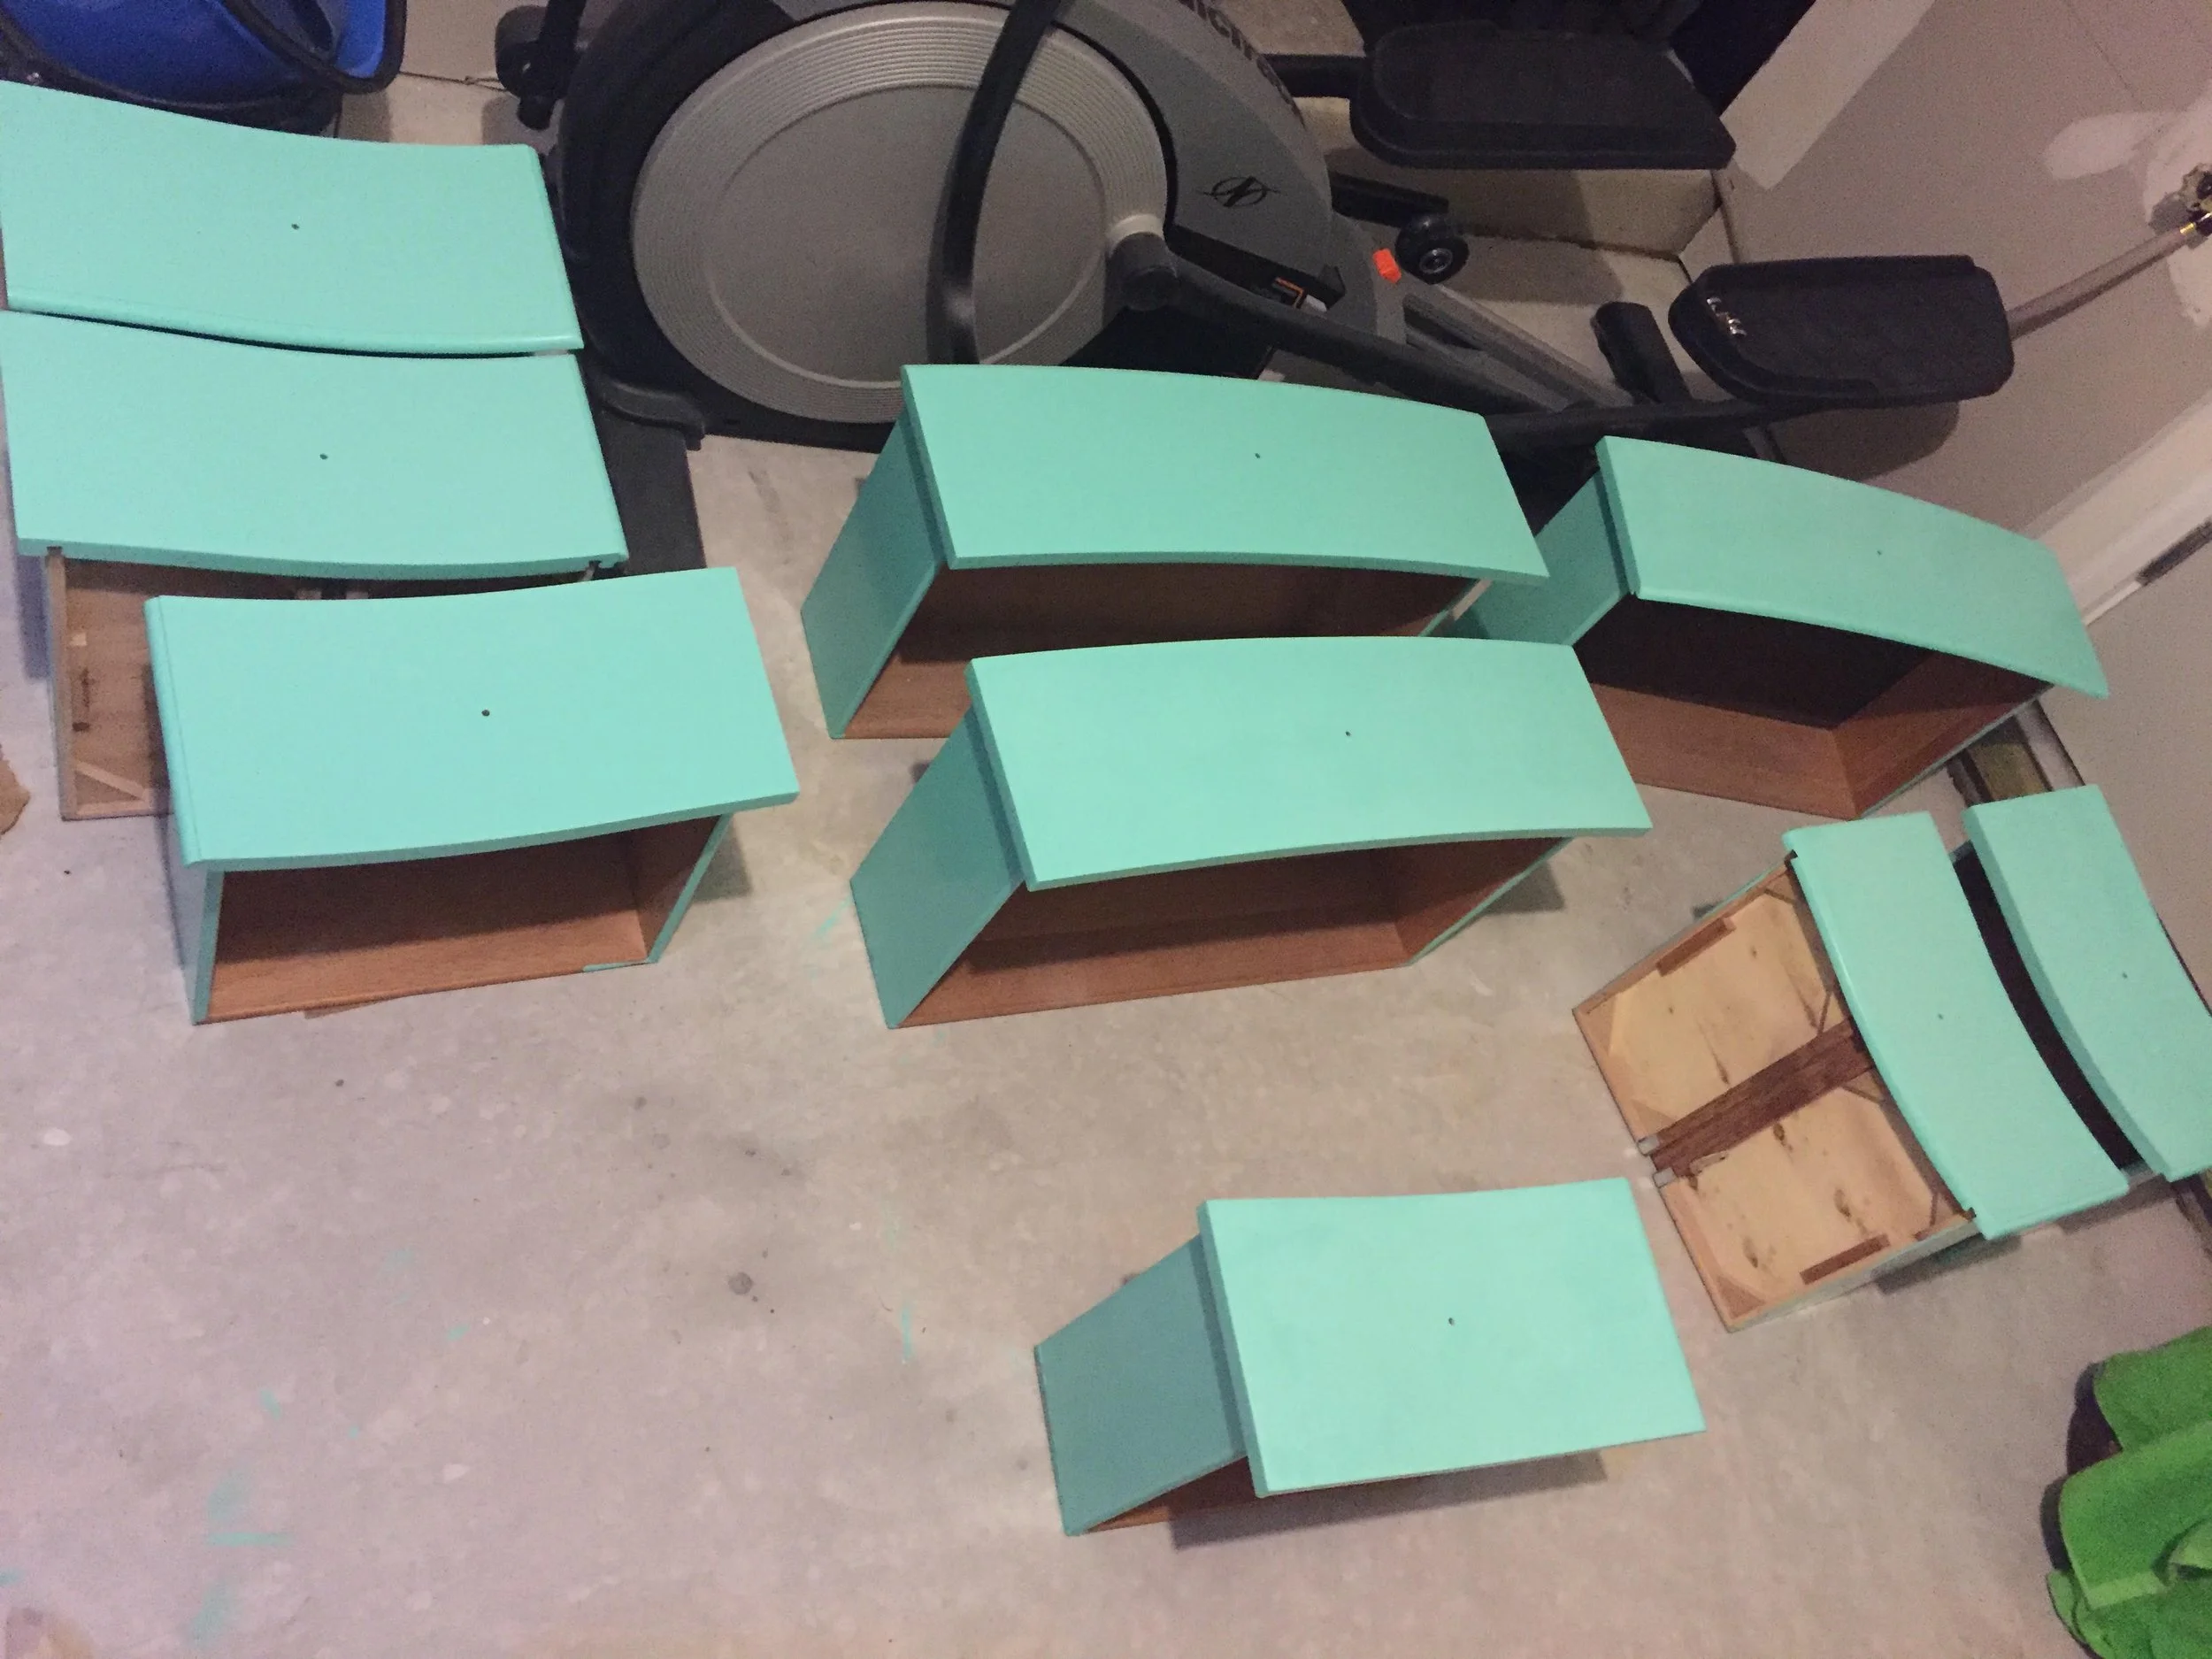
Paint the Dresser:
Stir the latex paint thoroughly. Use a paintbrush for detailed areas and a foam roller for larger flat surfaces. Apply a thin, even coat, and let it dry completely. Depending on the color and finish, you may need a second coat.
Apply a Topcoat (Optional, but recommended):
For extra durability, consider applying a clear topcoat. Follow the instructions for drying and application.
If your undercoats are not thoroughly dried, not just dry to touch but cured; please wait several days to apply the topcoat.
Reattach Hardware:
Once everything is dry, reattach the handles and knobs.
Final Touches:
Inspect your work and touch up any areas that need it. Let everything cure as needed before using the dresser.
Tips:
If you're painting a piece with a lot of detail, use a smaller brush for better control.
Test the paint color on a small area before committing to the entire dresser.
Be patient between coats; it will lead to a smoother finish.
Enjoy your refurbished dresser!


AFTER: Transformed a dull brown dresser into a beautiful accent piece.