
DIY cLOSET bUILD
Material: 3/4 Sanded Plywood
Imperfect, Yet So Perfect
Whenever starting a new project or setting a goal, remember that every step, even the mistakes, are part of the journey to perfection!
What you see above looks like a well thought out plan with tool and craftmanship experience, doesn’t it? Well at least one can wish…
THIS IS HOW IT ALL STARTED
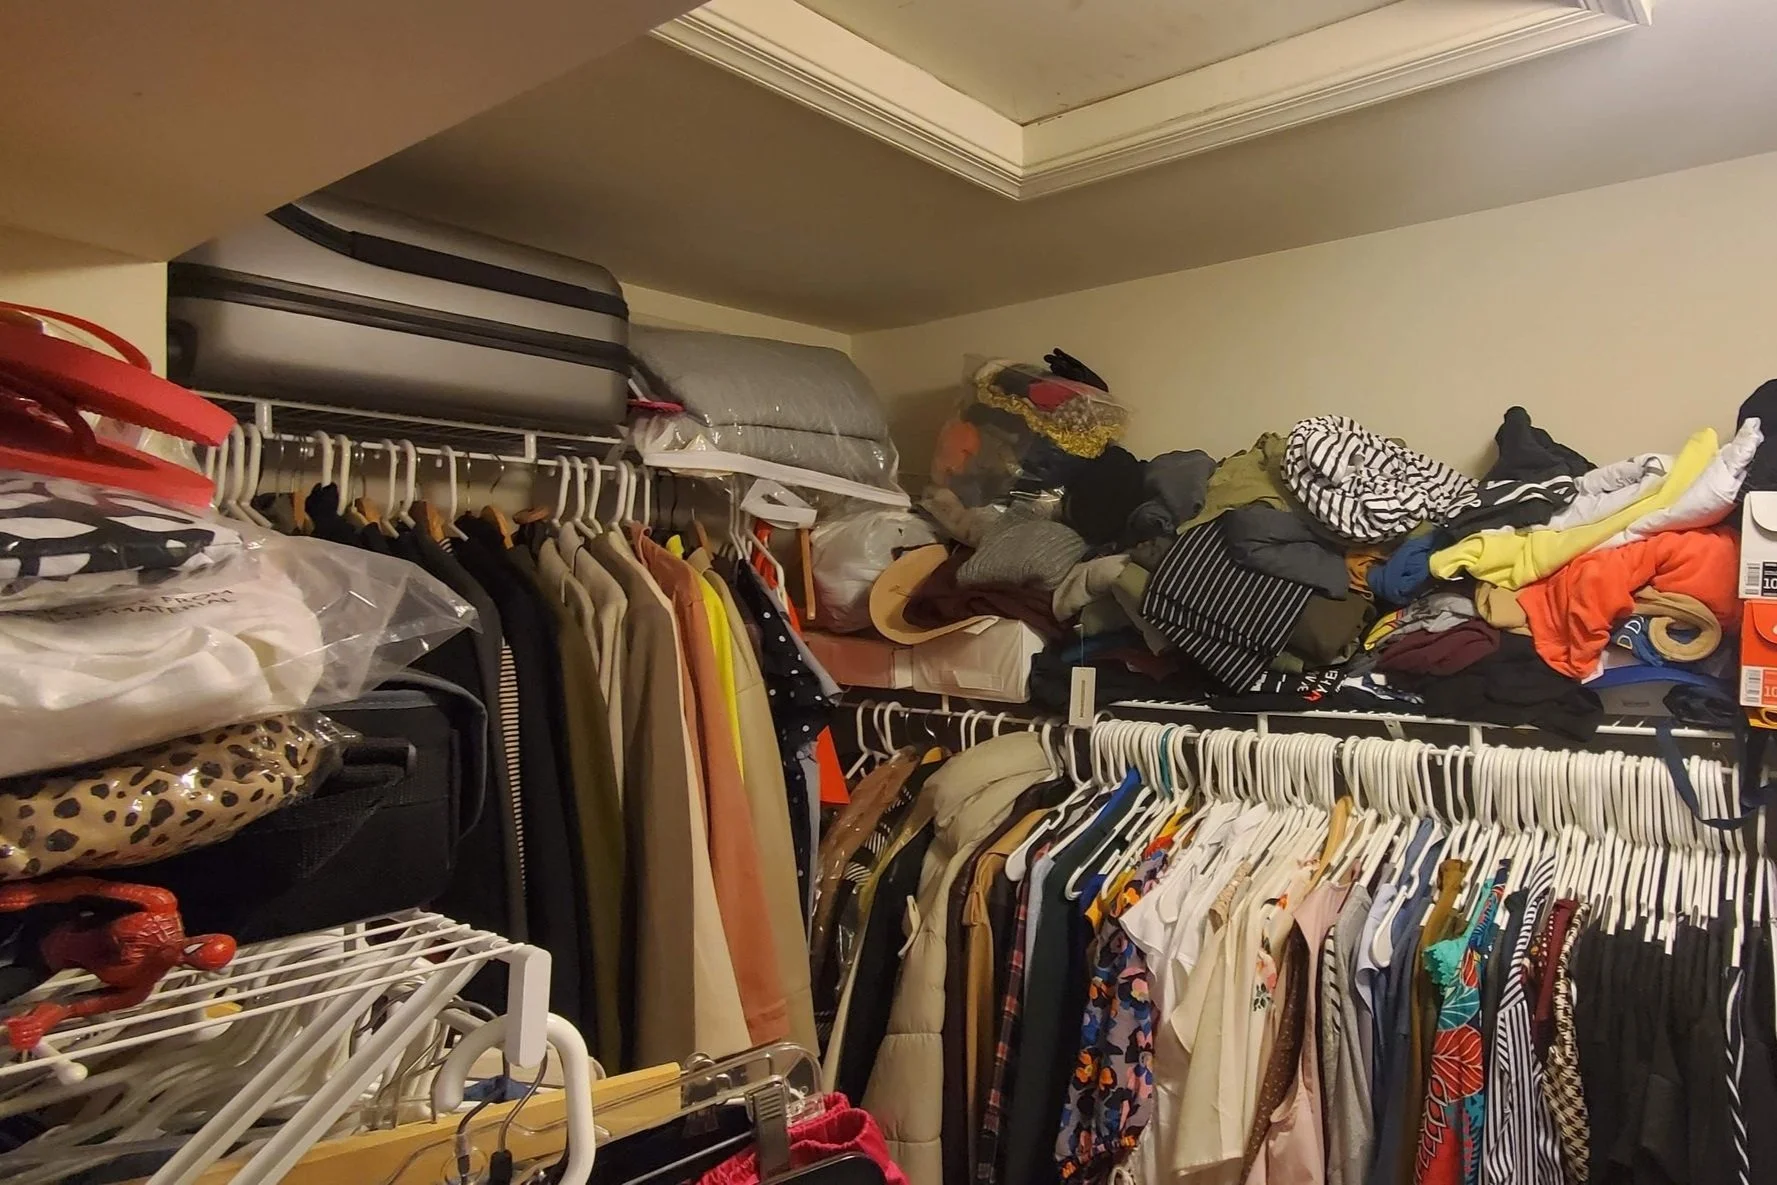
When I looked at my closet, it felt like a mountain of chaos staring back at me! I knew something had to change, and I wanted to do it without breaking the bank. The only problem? I had zero experience with power tools especially mitre and circular saws. But hey, every journey starts somewhere, right?
“It’s not going to build itself.”
I knew I didn’t want to hand over the $5K that closet builders quoted me—it would’ve been the easy way out! Luckily, fate intervened when I discovered that the IKEA PAX system I was eyeing was out of stock. Talk about a close call on saving nearly $2K! The only pieces I could snag were a shoe rack, a pants hanger, and a dresser. #DIYhack
So, I rolled up my carpet and laid down some stylish LVP flooring. I binge-watched countless Instagram clips and YouTube videos that fueled my confidence. I went into planner mode, mapping out my ideas on the floor with tape and using my phone to create photo mock-ups. It felt great to visualize my dream closet coming to life!
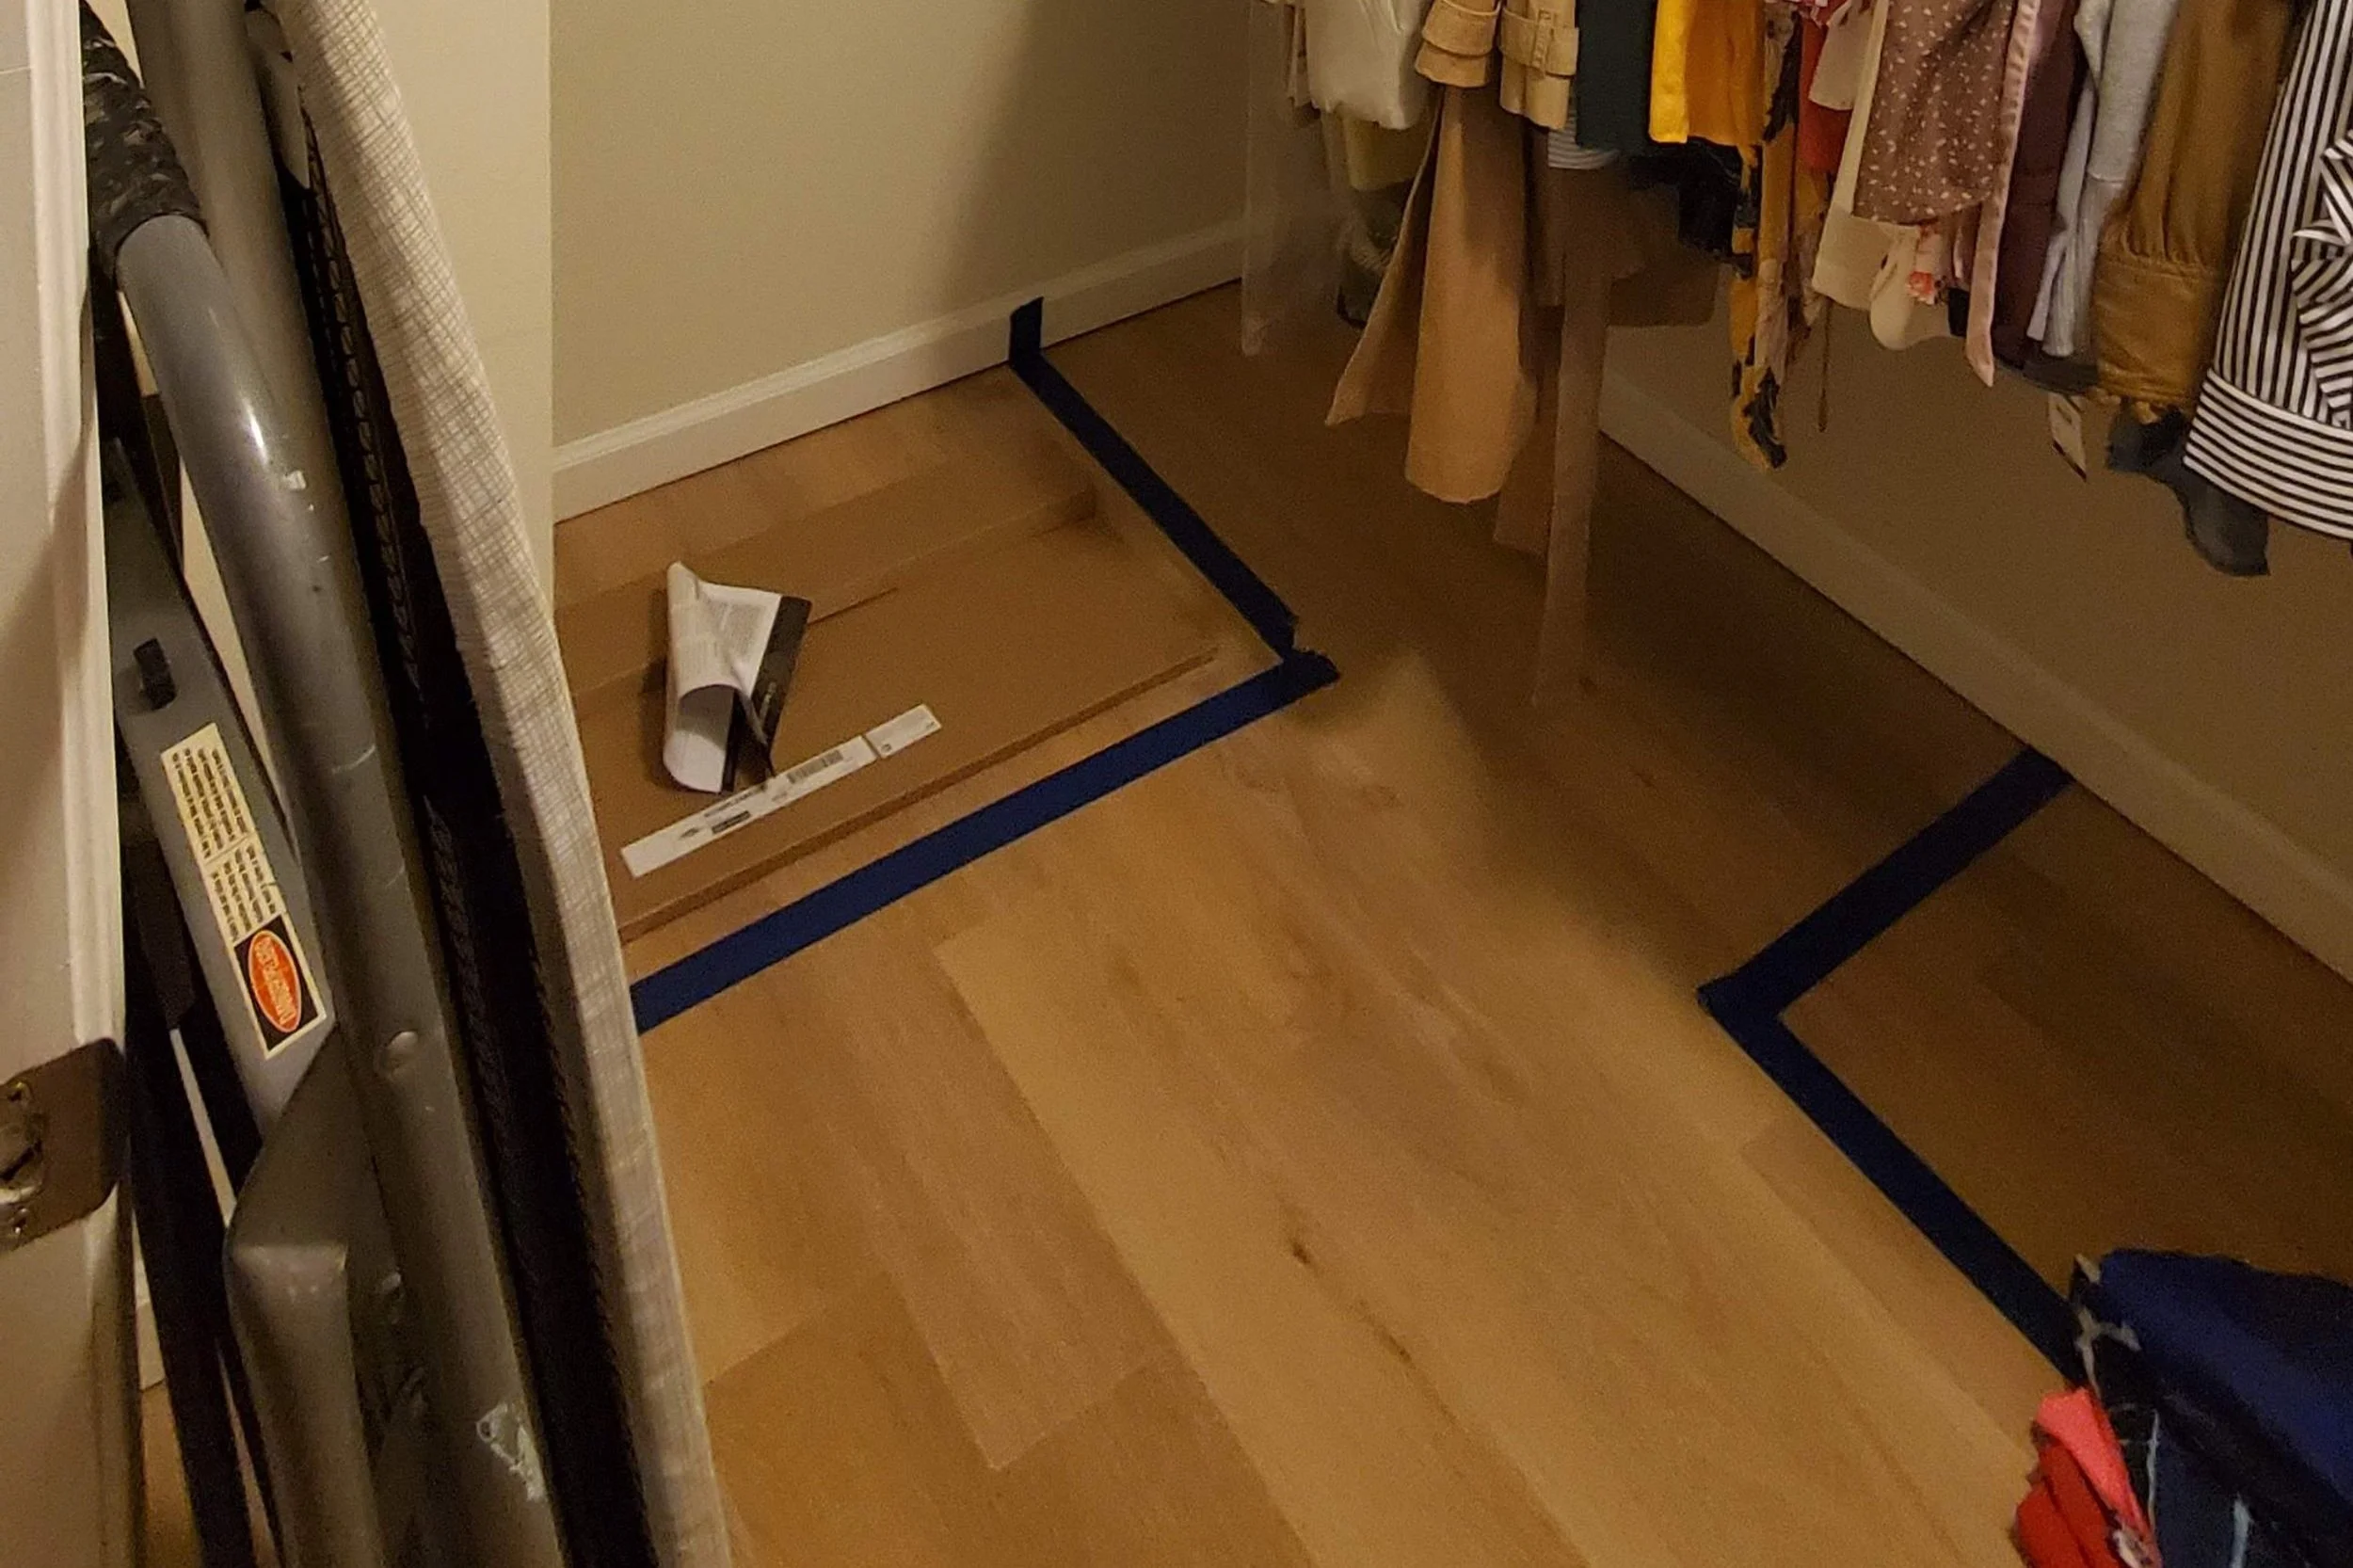
Used painter's tape to determine the layout of the shoe rack, shelving units, and dresser according to the product dimensions.

Photo rendering marked up to envision the shelving unit for shoes and handbags.

You don't have to be a design pro to conceptualize. Just start with bringing the idea to a reality.
Once you’ve mapped out your plans, it’s time to clear everything off the walls and, yes, make another space in your home a little messier! If you’re lucky enough to have a wired closet organizer from the builder, you’ve hit the jackpot—may peace be upon you! This part was definitely the least fun.
I found myself removing a whopping 78 screws and nails! After that, I patched up each hole, sanded down the walls, primed, and painted. Once that was done, it was time to dive into building the base structure for my closet. So grab those needle-nose pliers, crank up your favorite tunes, and let’s get to work! It’s all part of the adventure!
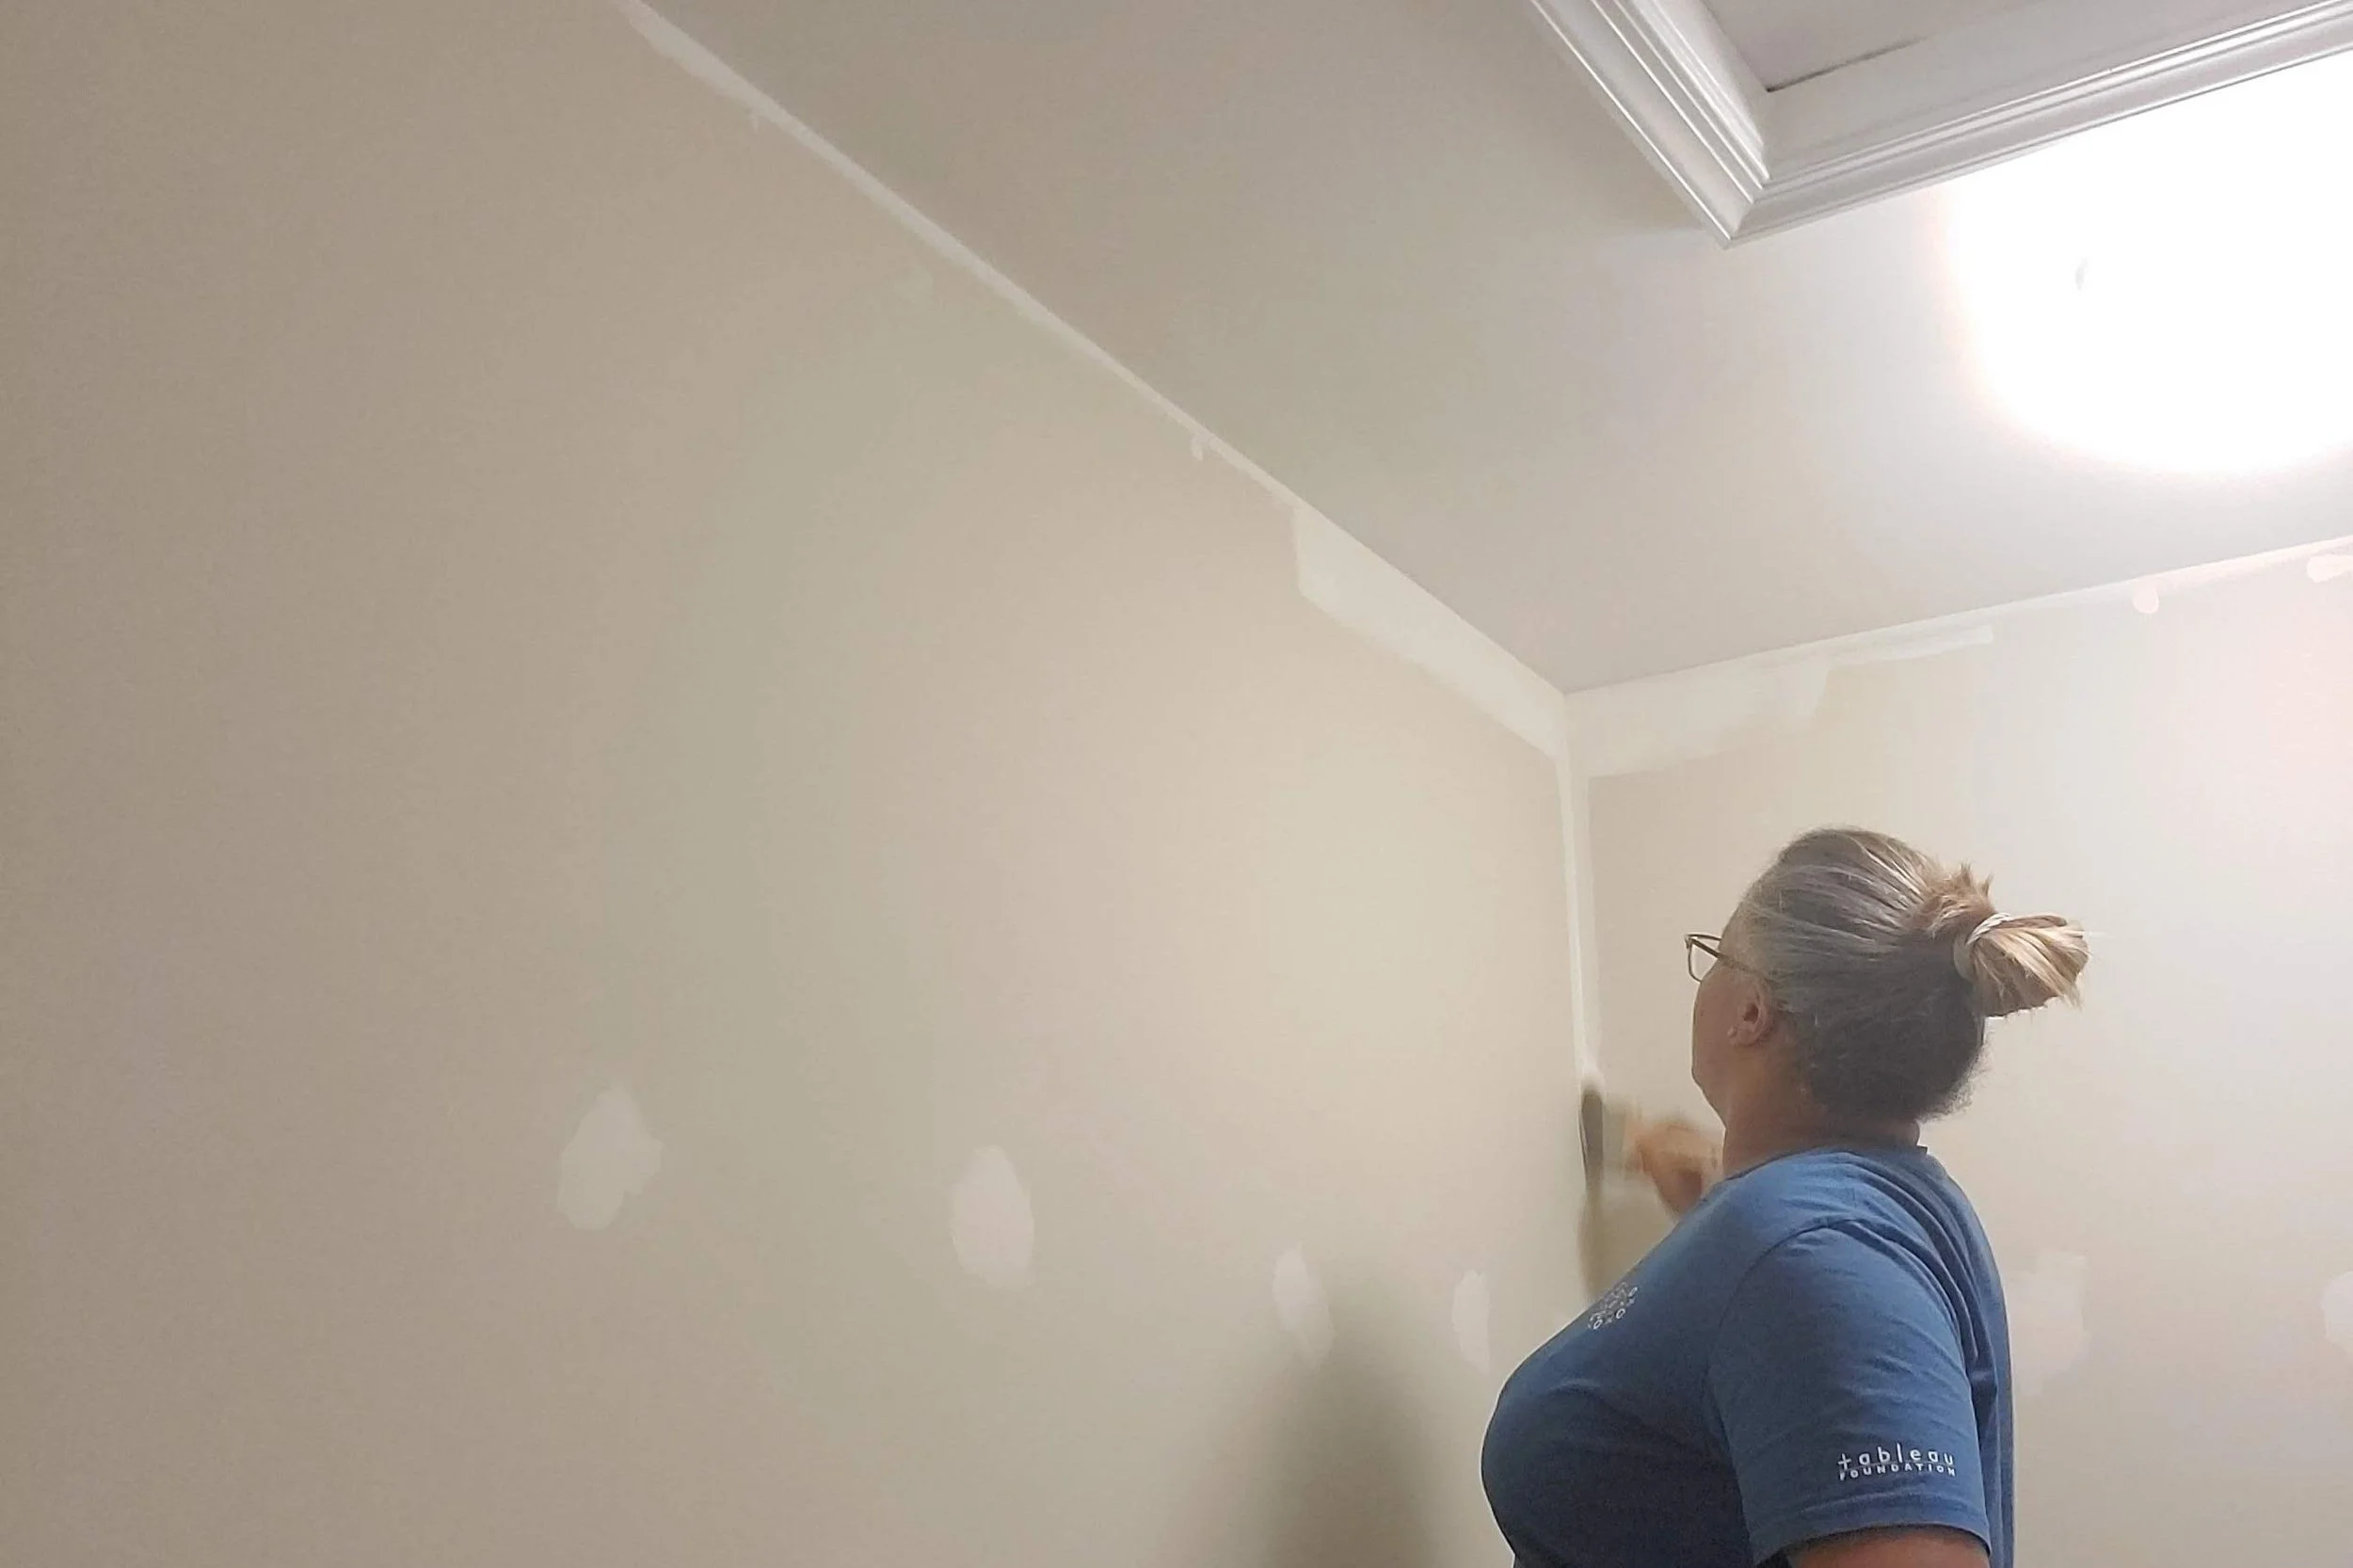
78 patched holes later... it was finally time to prime & paint these dreary builder's choice walls to a bright white.
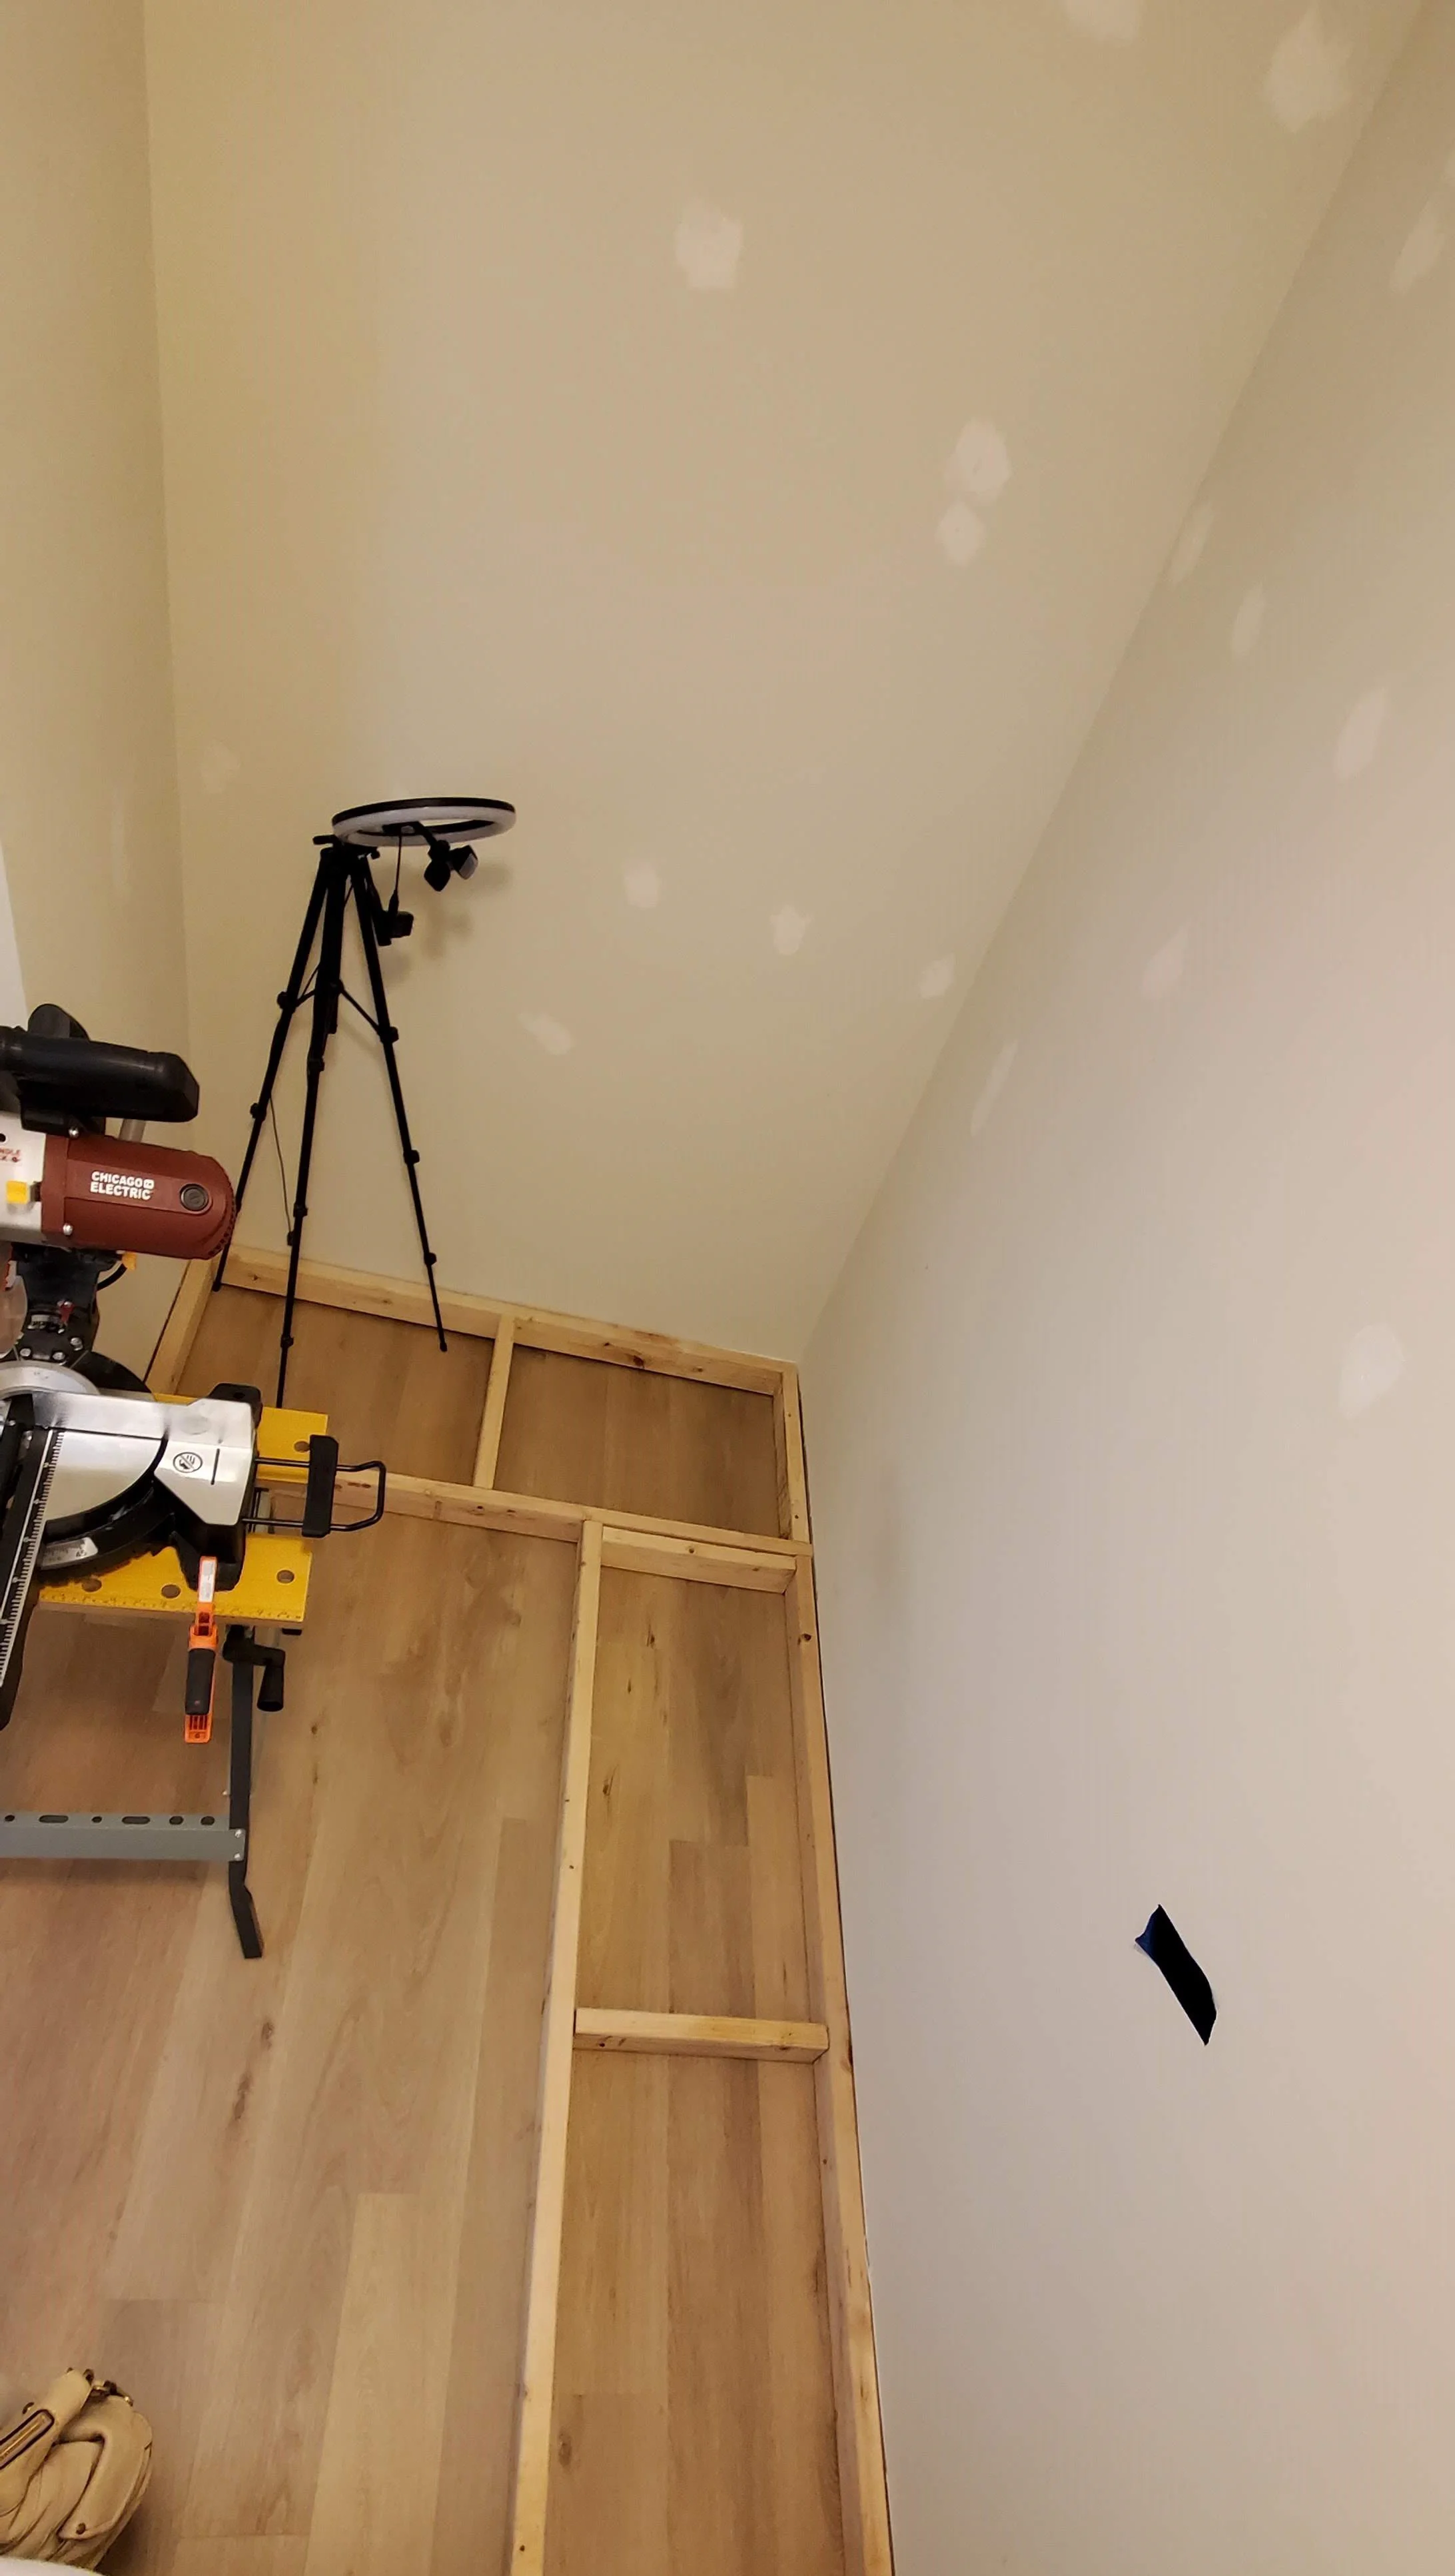
Base foundation 2"x4" secured to the lower base of drywall wall framing.
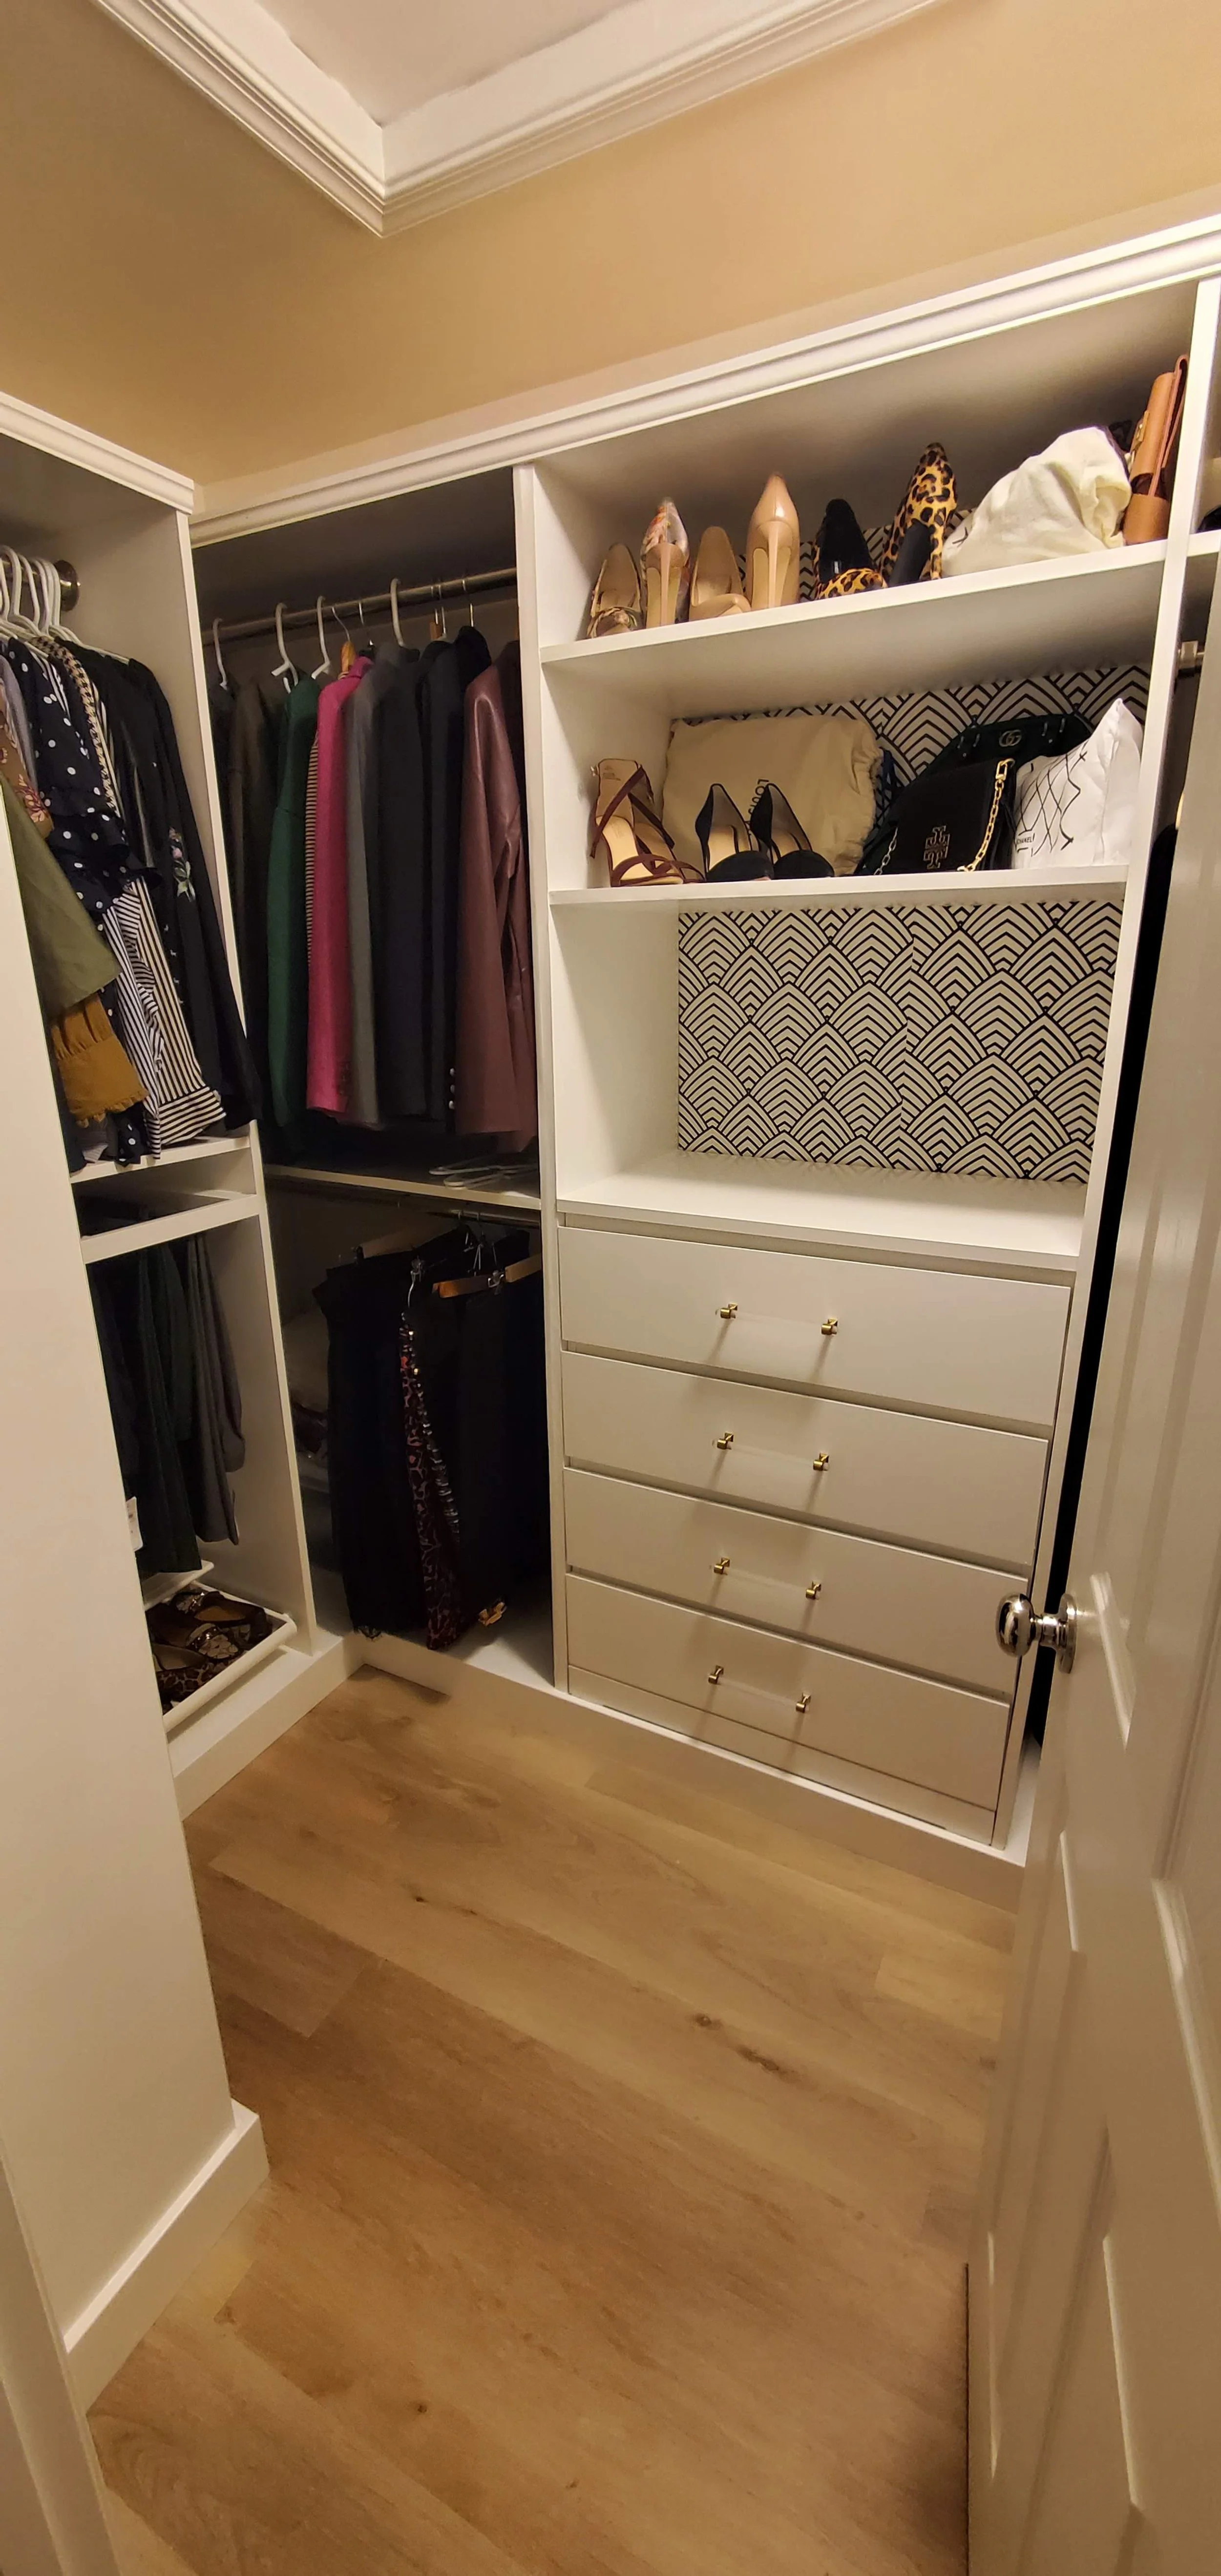
After finishing the base foundation and adding a plywood top, I got to work building the closet around my IKEA dresser, which was the star of my small walk-in. Its placement was crucial, so I made sure to install it first and frame everything out around it. It felt great to see the vision coming together!
The dresser is the focal point and will take center stage for the entire build-out.
Let’s jump to the good stuff… Instructions and list of materials used.
**Materials Needed:**
1. Plywood sheets (3/4 inch thickness and sanded is recommended)
2. 2x4 lumber for framing based foundation
3. Wood screws
4. Wood glue
5. Circular saw
6. Mitre saw (Trim cuts, straight/ angled)
7. Drill with drill bits
8. Pocket Hole Jig kit (optional, but was a sturdier option in my opinion)
9. Screwdriver or Automatic Screwdriver
10. Measuring tape
11. Level
12. Pencil
13. Sandpaper / Sanding block
14. Wood finish or Primer & Paint (optional)
**Step 1: Planning and Design**
- Measure the space where the closet will be installed.
- Decide on the dimensions of the closet and plan the layout, considering the placement of shelves, rods, and any other accessories.
**Step 2: Gather Materials and Tools**
- Purchase the necessary plywood sheets, 2x4 lumber, wood screws, and other materials.
- Ensure you have all the required tools listed above.
**Step 3: Frame the Base Structure of Closet**
- Cut the 2x4 lumber to create the frame the base structure of the closet.
- Attach the frame to the wall using wood screws, ensuring it is level and securely anchored.
- Cut and attach with wood screws plywood to size, on top of your new 2”x4” support foundation serving as your base layer
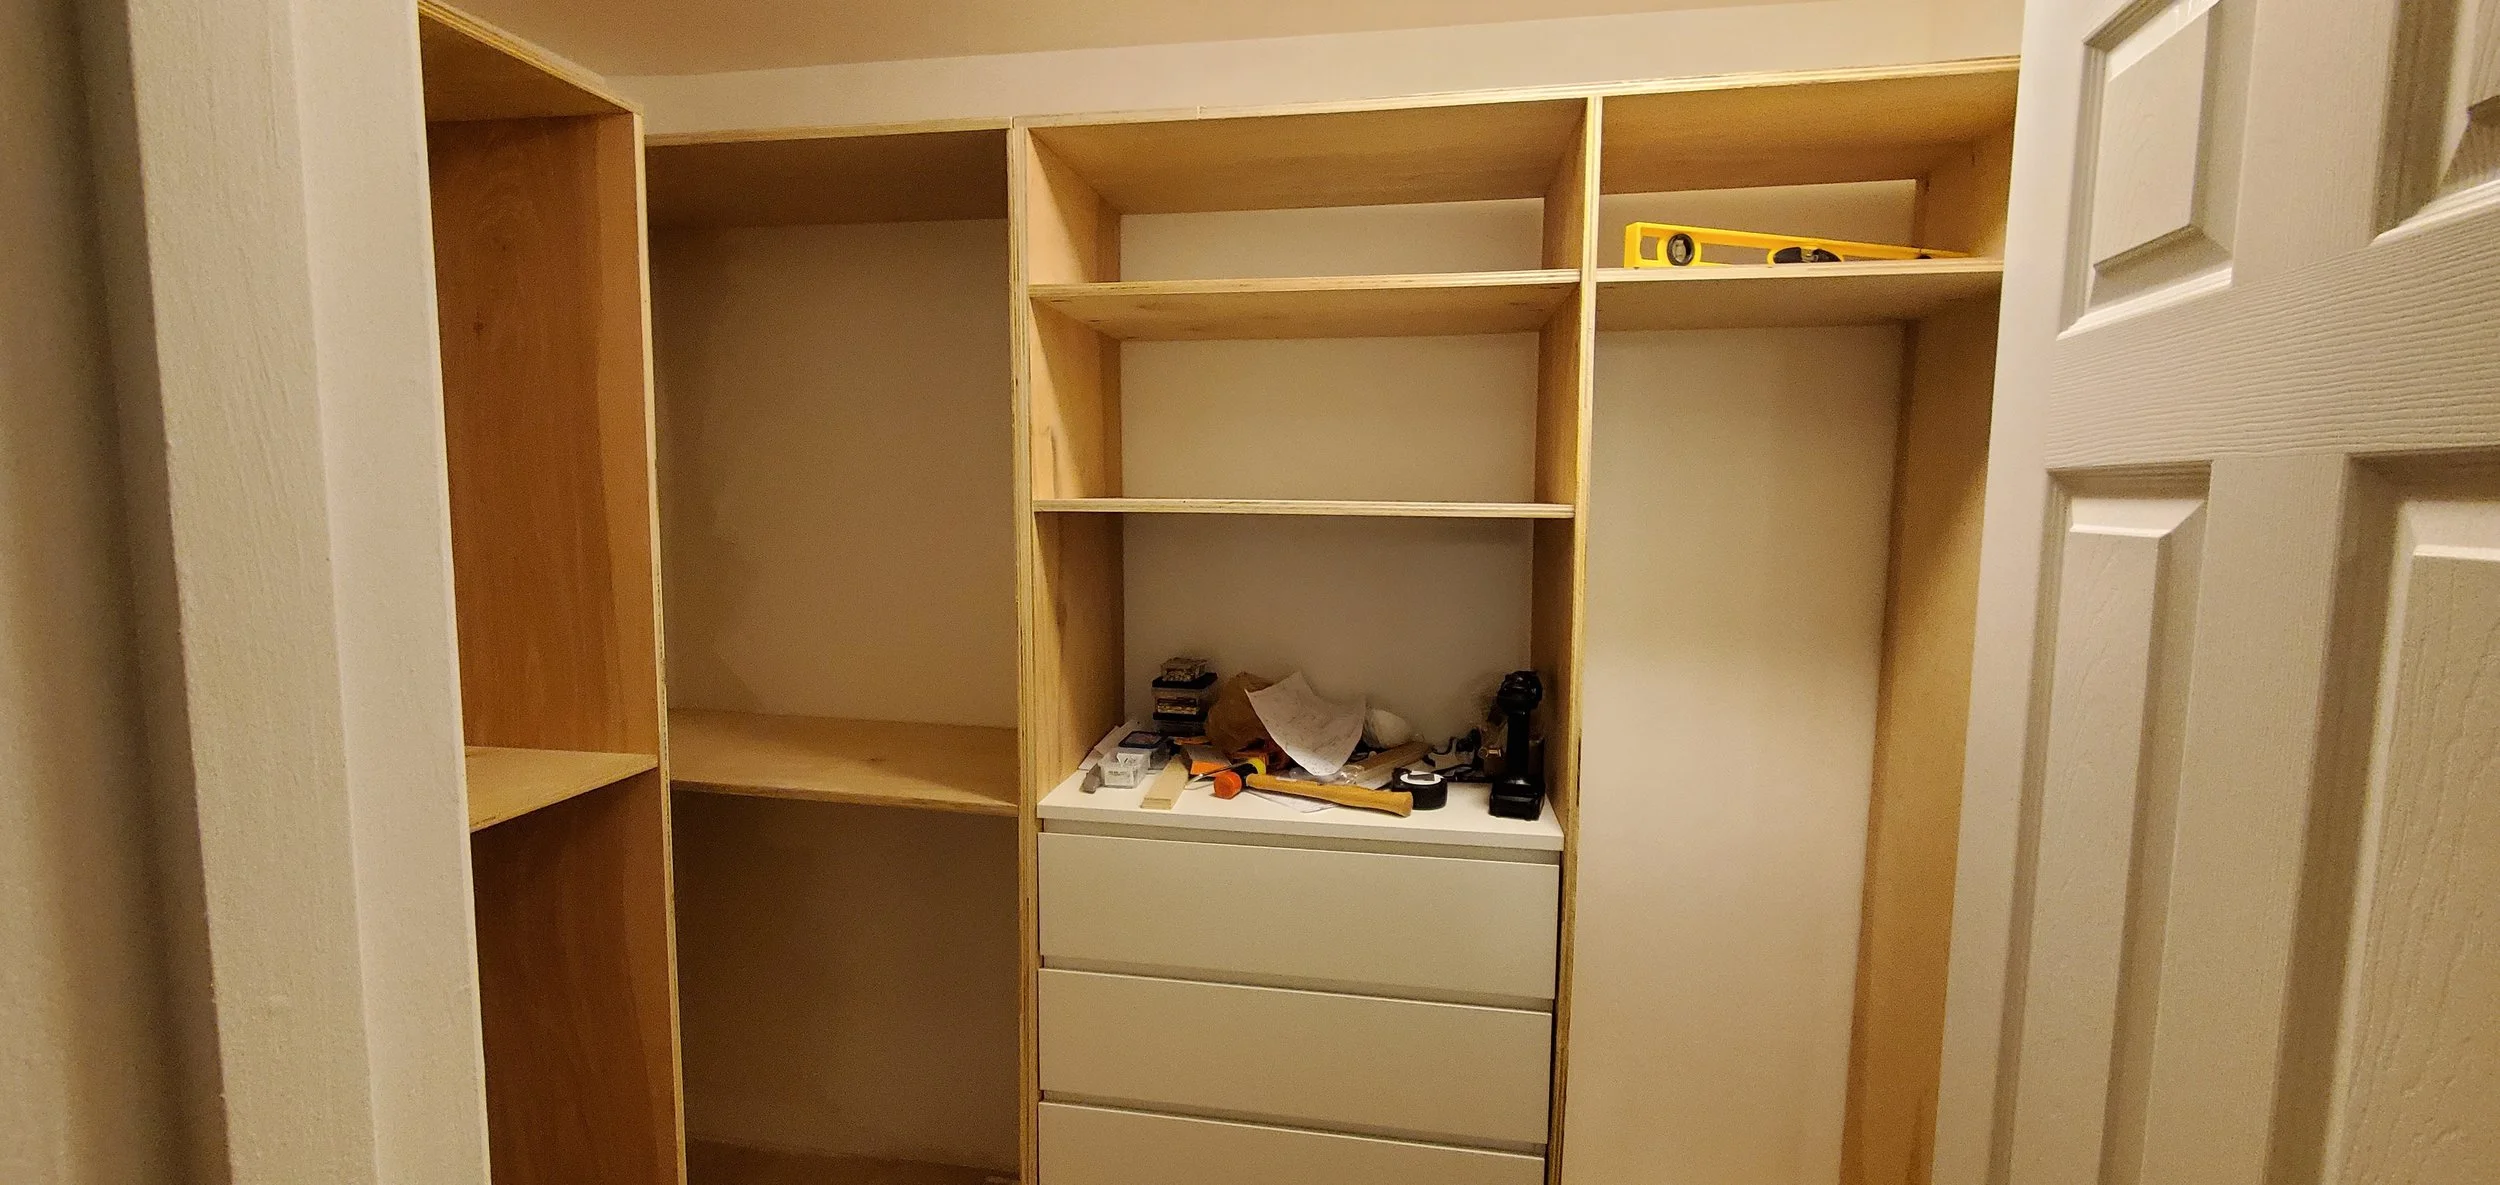
**Step 4: Cut and Install Plywood Panels**
- Measure and cut the plywood sheets to fit the dimensions of the frame.
- Attach the plywood panels to the frame using wood screws and wood glue.
NOTE: I created a tower / boxed shelving units by drilling jig pocket holes. I purchased a Kreg jig set which was a life saver for me. There are various size tools depending on your job, but the small one here worked just fine for me. Just invest in clamps to hold it steady to your wood. Here is a kit that comes with clamps.
**Step 5: Add Shelves and Rods**
- Cut additional pieces of plywood to create shelves. Attach them using wood screws.
- Install a rod for hanging clothes at the desired height.
**Step 6: Finishing Touches**
- Sand the surfaces to smooth any rough edges.
- Add your metal or wooden rods anchored to interior shelving units.
- Apply wood finish or paint if desired for a polished look. (Don’t forget to use a primer before painting if you are using a light color to avoid any natural wood tannins from penetrating through the paint)
- Add wallpaper if desired
- Add/Update drawer pulls if you decided to incorporate a dresser
**Step 7: Final Inspection**
- Double-check all connections and ensure the closet is securely attached to the wall.
- Make any necessary adjustments to ensure everything is level and stable.
Congratulations! You've successfully built a closet with plywood. Adjustments and customization may be made based on your specific needs and preferences. Always prioritize safety by wearing appropriate protective gear and following manufacturer instructions for tools and materials.
If interested in additional DIY projects, be sure to check out how I managed to pull this off despite my trials & tribulations by subscribing and following my YouTube and Instagram. Visit me on Pinterest for easy shopping lists and unique household gems!
“ The fear of starting is just a byproduct of being uncomfortable and unfamiliar. The satisfaction of creating something incredible by overcoming your fears is unmeasurable.”