

Kitchen CountERTOPS
Expoy Resin Applied Over Existing Granite… A Little Crazy?

Countertop Makeover with Epoxy
Many thought it was crazy to cover my five-year-old countertops with epoxy, but I was certain they didn't align with my kitchen's envisioned aesthetic. I desired white countertops and was willing to forgo the ubiquitous builder-grade granite, which, let's be honest, is quite uninspiring. I planned to upgrade to quartz before the decade mark, anyway.
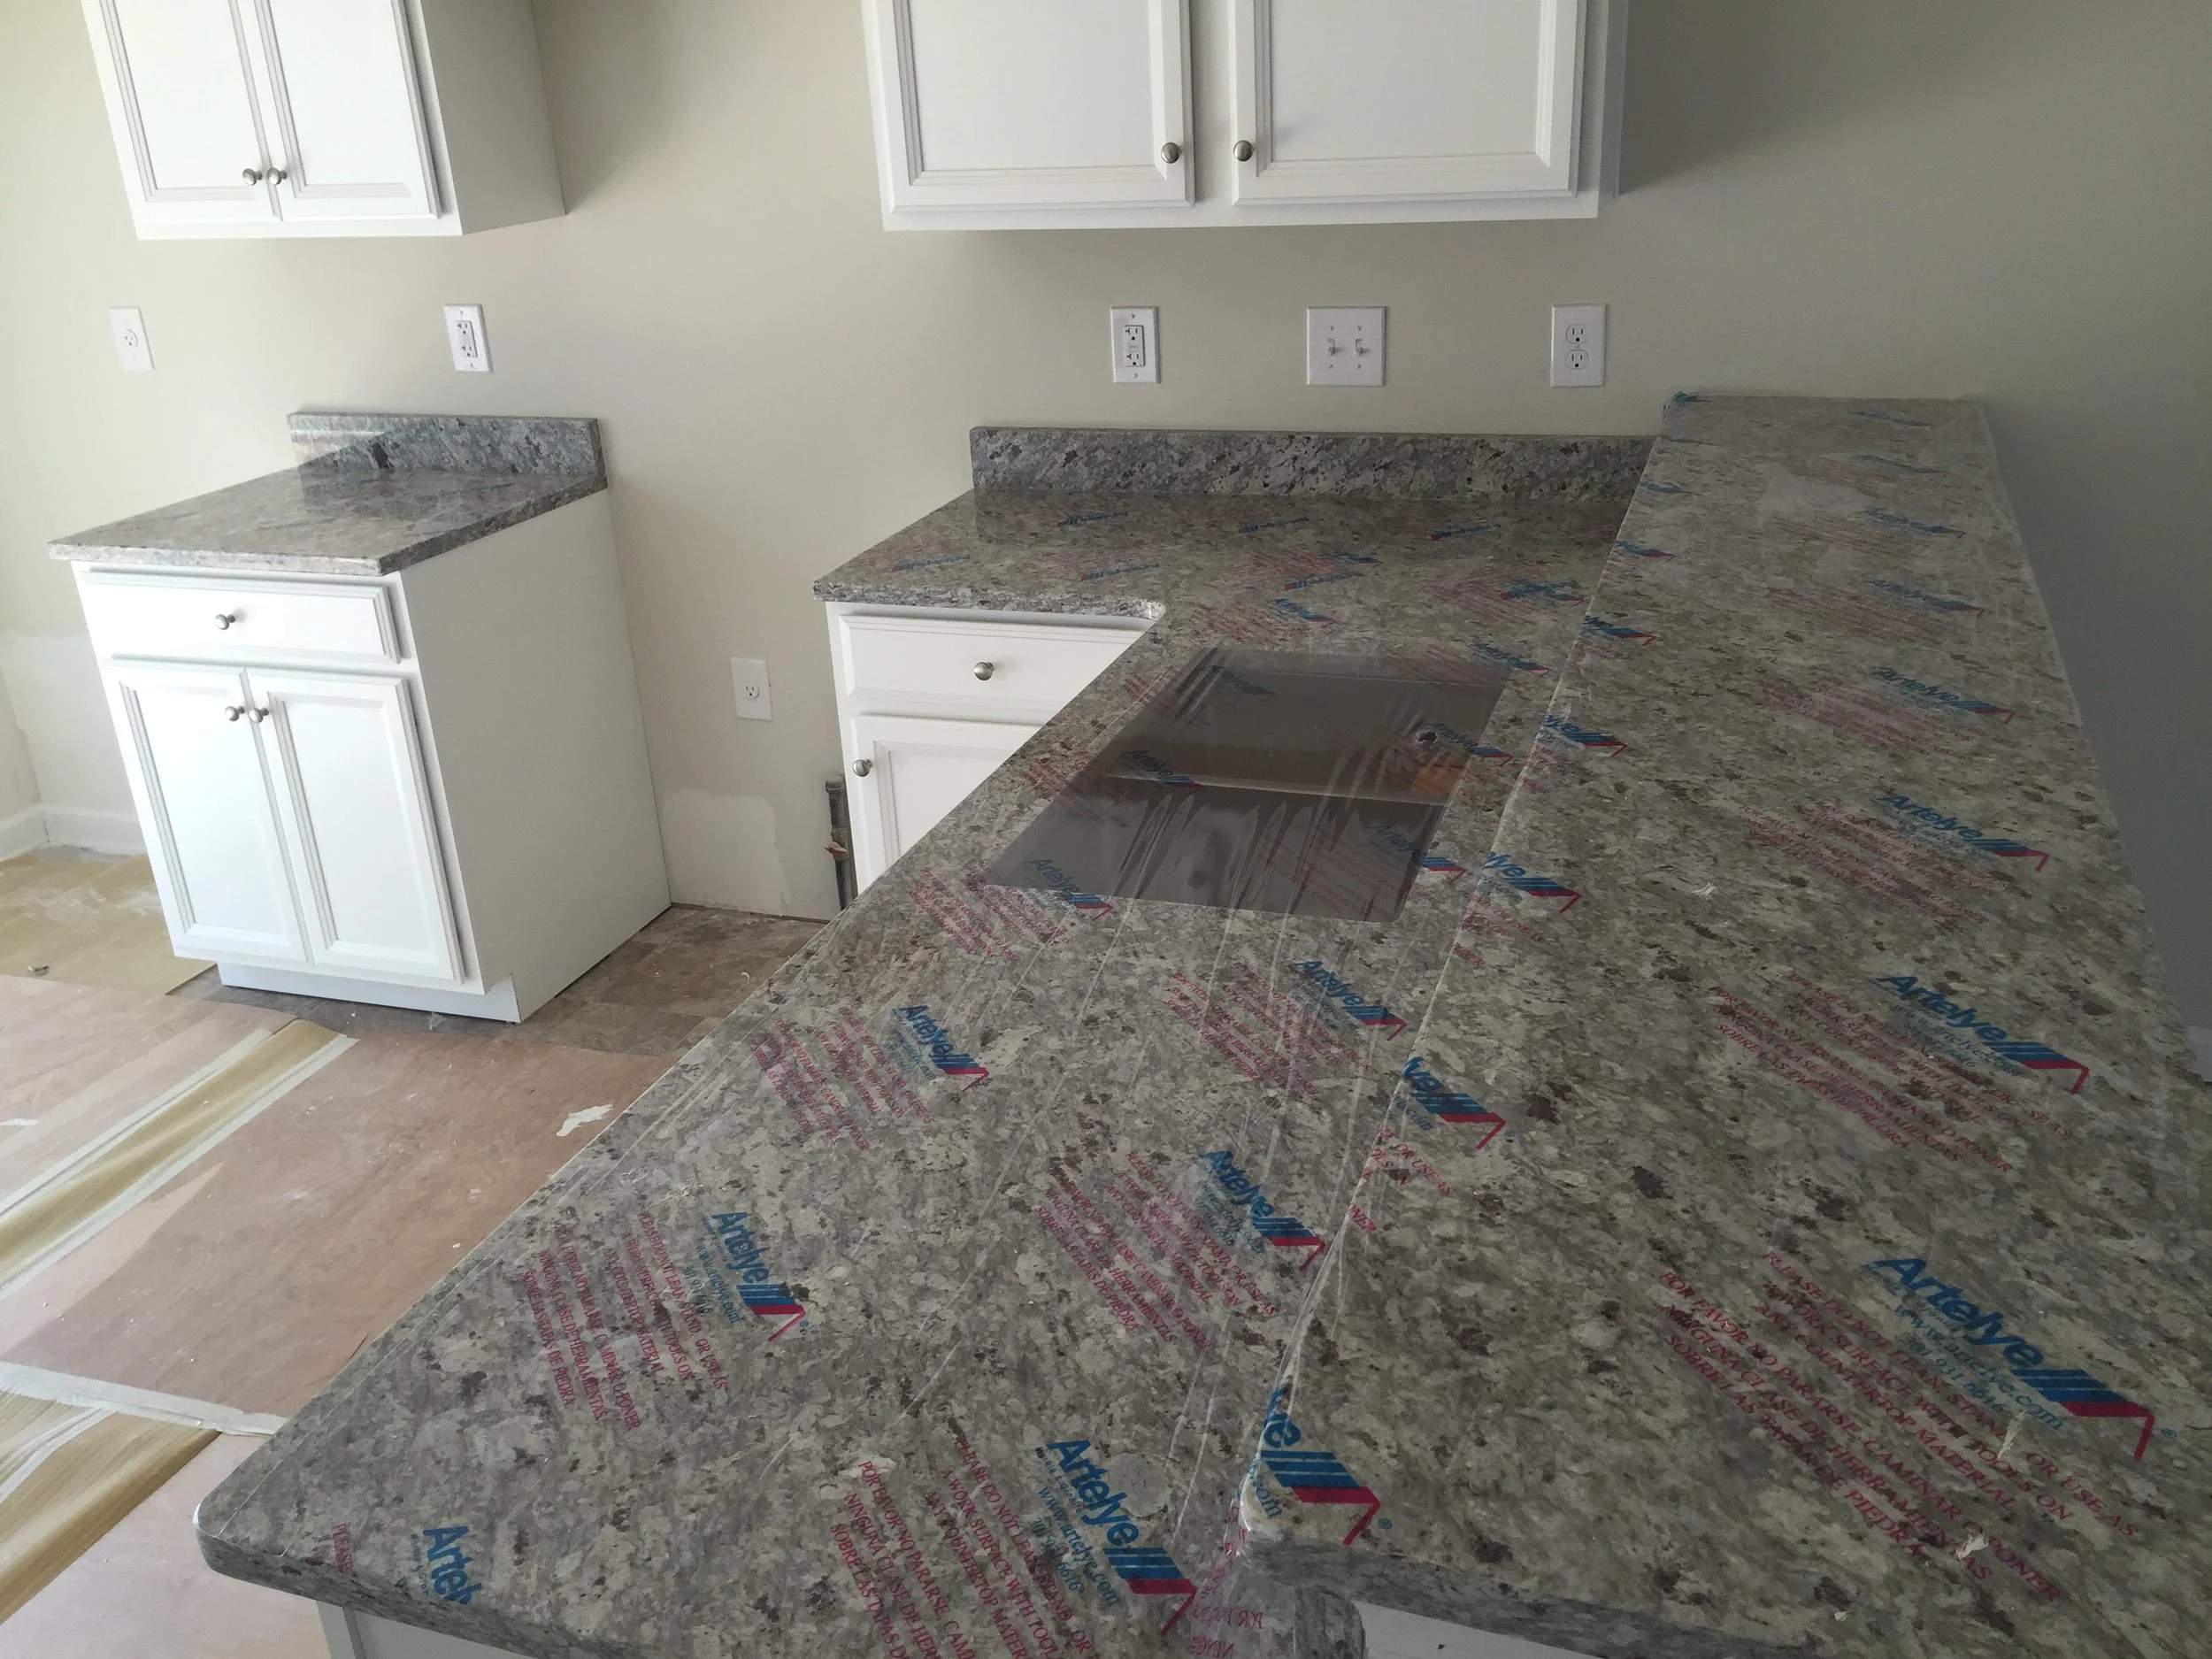
Builder Grade Granite

Granite against my new DIY installed backsplash
Alright, so perhaps it wasn't entirely terrible... but when inspiration strikes, you crave the realization of your vision, even if it entails actions others may avoid. The pursuit of aesthetic allure often triumphs, while practicality may take a backseat. Moreover, it's an additional opportunity for me to express my artistry!
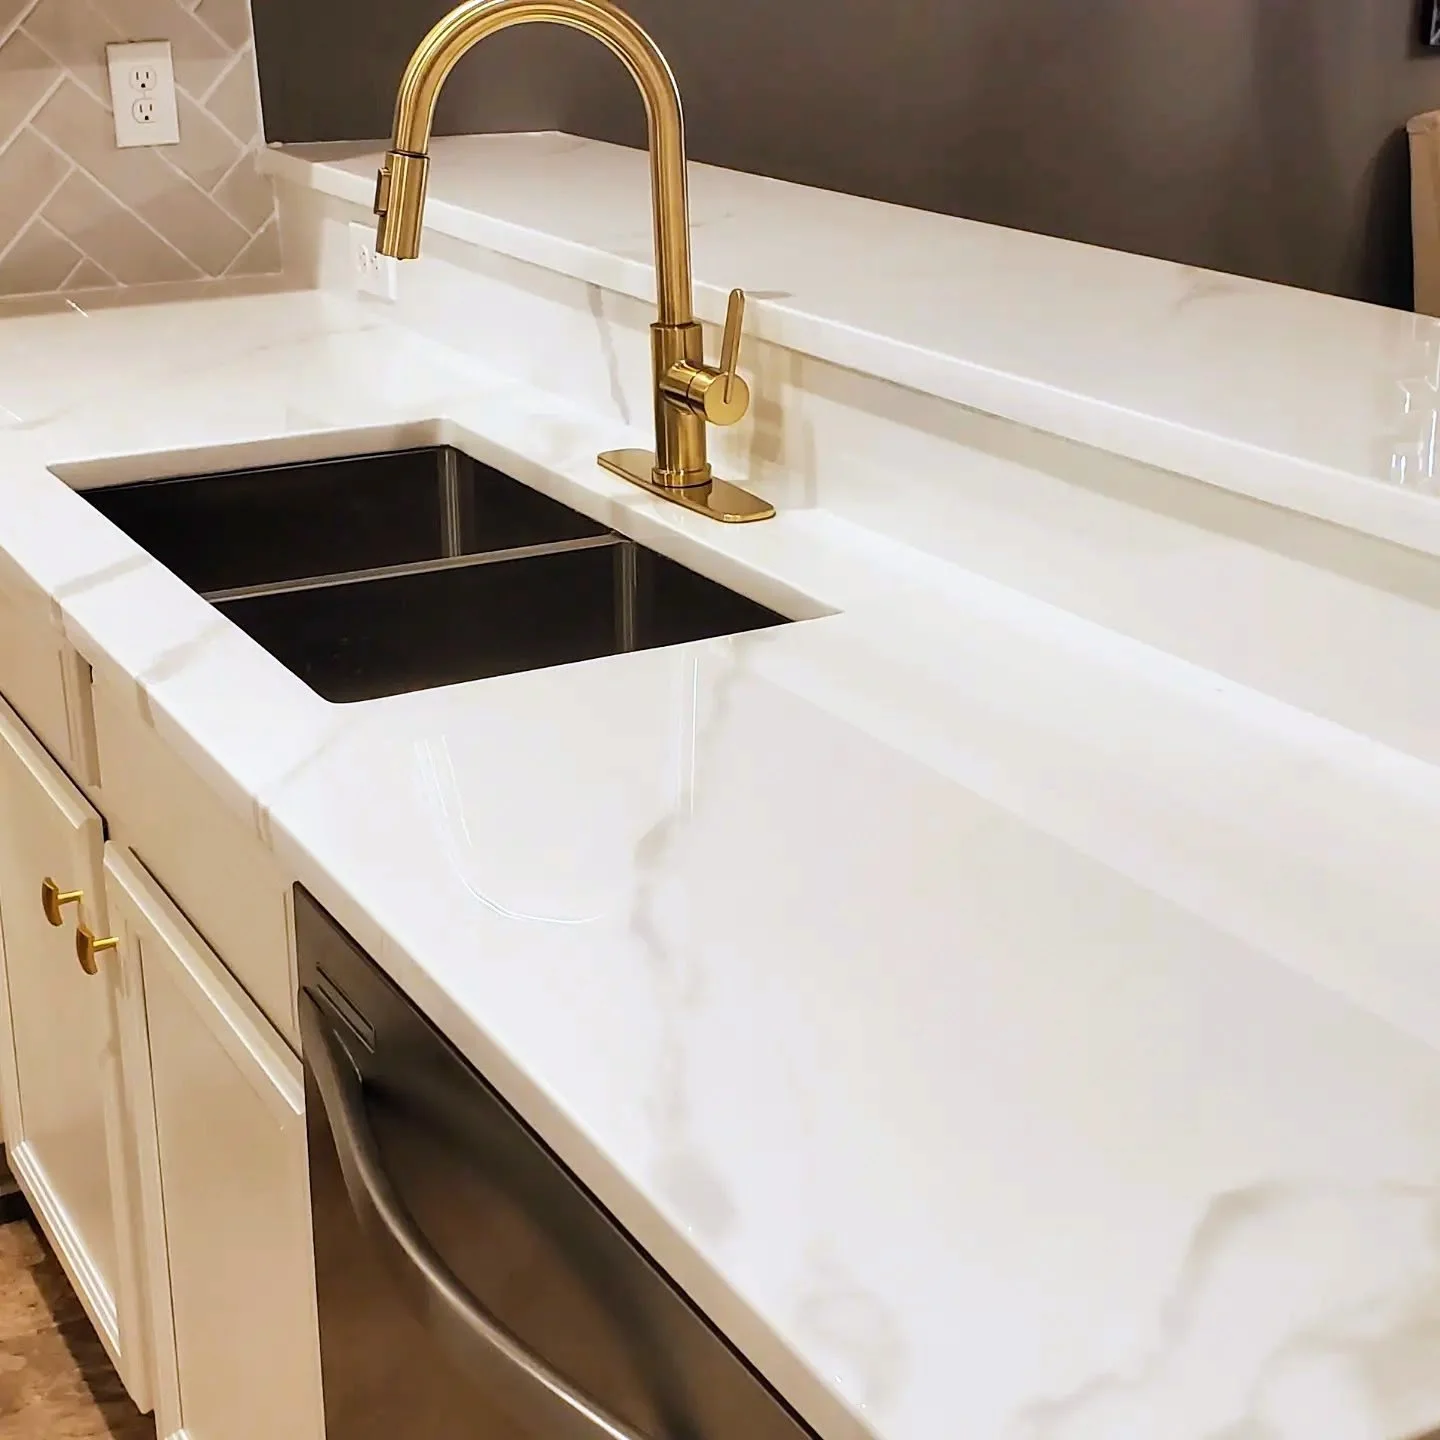
The final product is visually much improved.
Materials Needed
Epoxy resin kit
Clean rags
Gentle Cleanser (Mild Soap & Water will do)
Sandpaper (grit 200 and 400)
Mixing container and stir stick
Painter’s tape
Plastic sheeting
Drop cloth (floor protectant)
Gloves and safety goggles
Steps to Epoxying Granite Countertops
Prepare the Area
Clear the countertops of all items.
Cover surrounding surfaces with plastic sheeting or a drop cloth to protect from spills.
Clean the Countertops
Use mild soap and water, rinse & wipe well. Use a gentle cleanser to rid of any grease, dirt or old sealants that would compromise the chemical bond,
Allow the surface to dry completely.
Sand the Surface
Lightly sand the granite with 200-grit sandpaper to create a rough surface for better adhesion.
Wipe away any dust with a clean rag. (I like to use a dampen microfiber cloth)
Tape Off Edges
Use painter’s tape to mask off any areas where you don’t want epoxy, such as backsplash or cabinets.
Mix the Epoxy
Follow the manufacturer's instructions for mixing the epoxy resin and hardener in a clean mixing container. Make sure to mix thoroughly to avoid any unmixed areas.
You can opt to attach a mixer drill bit and use your drill, but keep the speed slow to avoid creating many air bubbles that can be caused by higher speeds.
Nothing is wrong with an old fashion painter’s stick (long), just use your muscle.
Apply the Epoxy
Pour the mixed epoxy onto the granite surface.
Use a spatula or brush to spread it evenly across the countertop, working quickly as epoxy can start to set.
Remove Air Bubbles
Use a heat gun or a small torch to gently pass over the surface. This will help eliminate any air bubbles that may form.
Let It Cure
Allow the epoxy to cure according to the manufacturer’s instructions. This can take anywhere from several hours to a few days.
Sand Again (Optional)
If desired, lightly sand the cured epoxy with 400-grit sandpaper for a smoother finish. Wipe down to remove dust.
Final Cleanup
Carefully remove the painter’s tape before the epoxy fully hardens.
Clean any spills or excess epoxy with a suitable solvent.
Cure Time
Allow the epoxy to cure completely before using the countertop. Refer to the product instructions for specific curing times.
Tips
Always work in a well-ventilated area.
Wear gloves and safety goggles for protection.
Test a small area first to ensure compatibility and appearance.